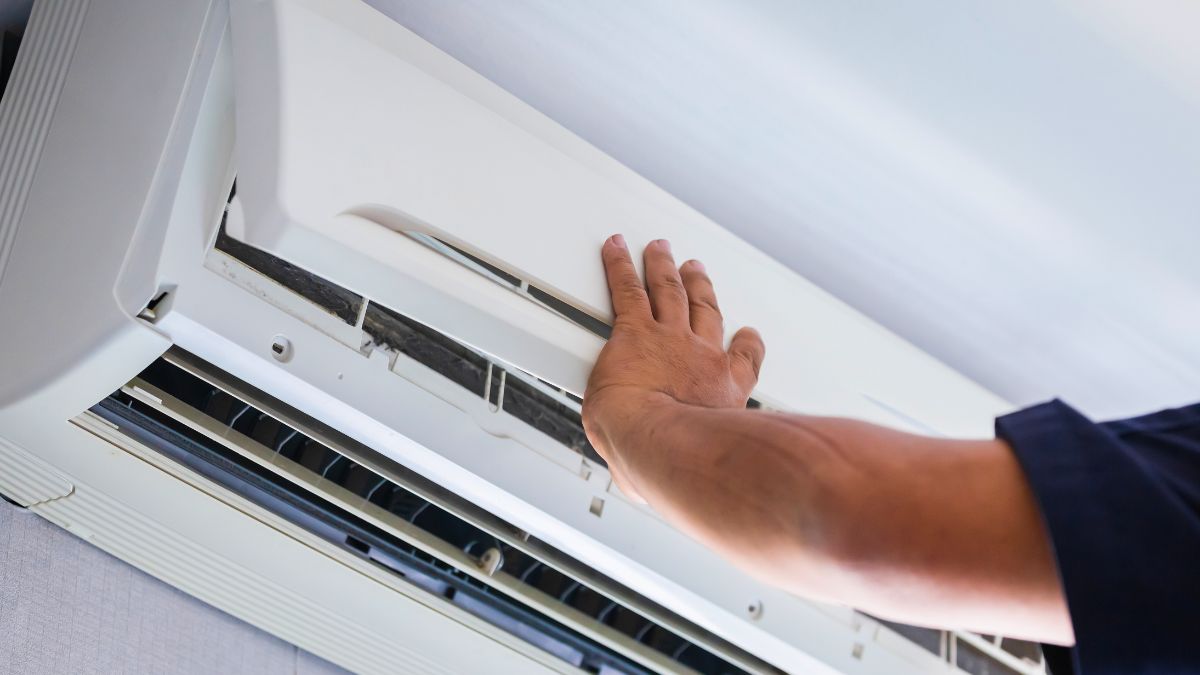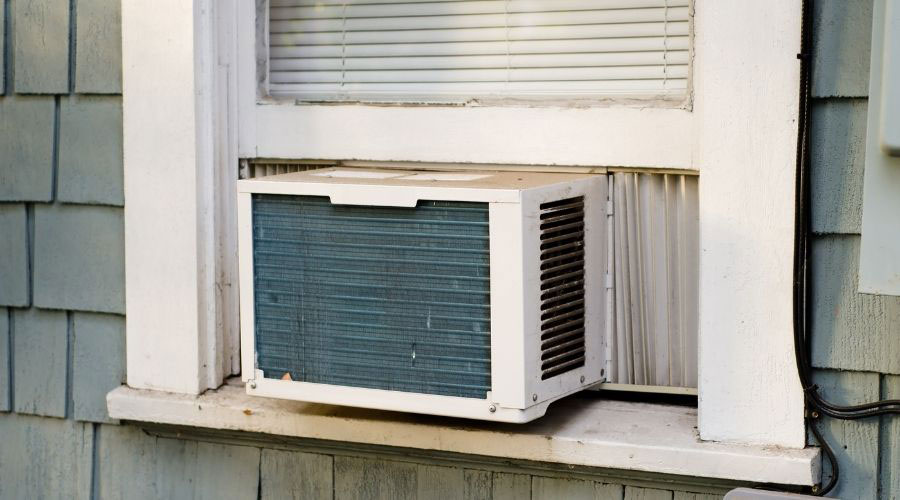
When it comes to window air conditioning units, there comes a time when the device is not putting out as much cold air as it used to. Do not be alarmed! You do not have to spend another $100 to $200 on a new one. There is a simple fix for this issue.
Nine times out of ten, your window unit is low on refrigerant, which you can recharge when this issue occurs. But the question still stands, how do I recharge my window air conditioner?
When the time comes for you to recharge your window air conditioning unit, the process is pretty simple. Follow these steps, and your window unit will be blasting you with cold air in no time at all.
- Gather the necessary supplies
- Put on gloves and some eye protection
- Unplug the window unit
- Open the window unit
- Check for potential leaks
- If you find a leak, fix it
- Connect the service valve from your kit to the compressor line
- Attach your freon kit to the now attached service valve
- Recharge your window units freon
As you continue to read this article, it will go more in-depth with the step-by-step process of recharging your window air conditioning unit.
How Do I Recharge My Window Air Conditioner?
You have had the same window unit for a couple of years now, and the summer months are starting to roll in.
As you plug in your window unit and turn it on for the first time in maybe a few months, you might notice that the air coming from it is not as cold as it used to be.
Most of the time, when a window unit’s cold air starts to become warmer, the device is running low on refrigerant. So most air conditioners use either freon as a refrigerant.
This freon is compressed by the compressor and goes through an evaporation process, turning into a gas and then liquid. As the freon turns into liquid, it becomes freezing, cooling the air around it.
However, as the freon is compressed and turns into gas, a minimal amount of it is lost and pushed out through the compressor or tiny leaks in the condenser coils. These leaks are why you need to recharge your air conditioners from time to time.
Recharging the freon in your window air conditioner is a reasonably straightforward task once you know what to do. Fortunately, we will provide you with an in-depth, step-by-step guide to recharging your window air conditioning unit.
Step 1: Gather the Necessary Materials
As with any project or task you want, getting together all the materials you will need in one spot is super handy.
Not only that, but gating all of your materials before you start something will make the process much smoother and save you some time in the long run.
The necessary materials you will need to recharge your window unit are as followed:
- Protective gloves
- Protective eyeglasses
- Screwdriver or drill with the required head for the screws on your window unit
- Something to detect leaks (soap, fluorescent dye, leak detector)
- A soldering kit just in case you find major leaks
- A freon recharging kit
Once you have gathered your materials in an easy-to-reach area, it is time to start recharging your window unit.
Step 2: Put on Your Protective Gloves and Eyeglasses
Safety should always be a primary concern for everyone. In this case, freon is very toxic and is also cryogenic. Cryogenic essentially means something needs to be or is at an extremely cold temperature.
With that said, because freon is toxic and cryogenic, you should be prepared to protect yourself against it if an accident occurs. In addition, freon is extremely cold and can cause frostbite very quickly when it comes in contact with your skin.
To protect yourself from a potential accident, you should wear thick gloves and protective eyewear covering your eyes. Wearing these protective gloves and eyeglasses will help prevent severe injuries from occurring.
Step 3: Unplug Your Window Unit
The reason you need to unplug your window air conditioner should be relatively straightforward. When you need to work on anything that requires electricity, you should always be 100% sure that no electricity is running while performing maintenance.
Electricity can be hazardous if the proper safety measures are not taken beforehand. That said, simply unplugging the window unit from the wall outlet will cease any electricity flow within the device, allowing you to perform repairs and recharge the freon safely.
Once the device is unplugged from the wall outlet, please remove it from the window to better maneuver yourself and the unit around.
Step 4: Open the Window Unit
When you are looking to open up your window air conditioning unit, the manual that comes with it will show you the proper steps. Many older models have a function that allows them to be slid out of the encasing.
At the same time, newer, more modern window units require a screwdriver or drill with the appropriate head to unscrew the screws holding everything in place.
Once you are ready to open up your window unit, refer to the user manual to locate the screws on the front and the back.
As you unscrew the shell of the window air conditioner, put the screws in a safe place, so you do not misplace them. After successfully removing the air conditioner from its outer shell, set the body to the side and move on to the next step.
Step 5: Check for Potential Leaks
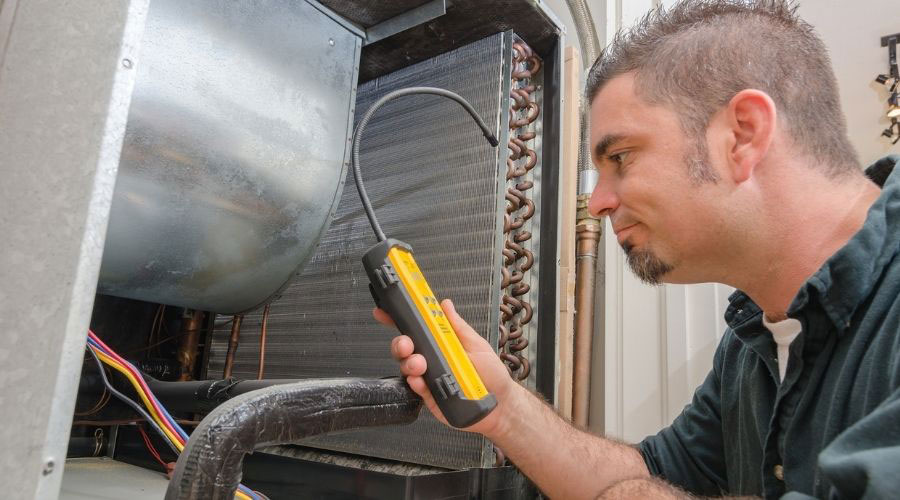
When you are looking for freon leaks, you are mainly going to be examining the condenser coil. However, you can use a few methods to find leaks inside the device.
- Soap: To use soap, make a solution of soap and water. Switch on the system and lubricate all refrigerant transmission gear (valves, hoses, pipe, etc.). You’ve discovered the leak if you keep an eye on bubble development.
- Leak Detector: Turn on the unit and shield it from direct drafts. Please turn on the leak detection and place its probe near the air conditioner’s outside unit.
If there is a leak, the leak detector will provide audible or visual (or both) alerts, depending on its kind.
- Nitrogen: This approach should only be used by professionals.
Closing any valves that link to upstream or downstream apparatuses, pressurizing the unit with nitrogen, monitoring its pressure at the start, and checking the pressure after a few minutes are all required. If there is a significant pressure drop, it indicates a leak.
- Fluorescent Dye: This approach is simple enough for beginners to use. It is necessary to fill the system with a tiny fluorescent dye and switch it on.
The dye then circulates with the refrigerant, accumulating at all leak locations. To locate the source of the leak, utilize a leak detectionflashlight or an ultraviolet lamp (it will be glowing).
Step 6: Fixing Leaks You Might Have Found
When it comes to fixing leaks, figuring out whether the leak is slow or fast can determine a few things.
If the leak you have found is small and relatively slow, you can opt-out of fixing the leak altogether. You do not have to fix slow leaks; simply refilling the freon will be enough to overcome the leak.
If you discover a significant leak in your window air conditioner, you must seal it before continuing. Do this by using a soldering kit. First, take the solder and place it up against the area where the leak is.
Then take the soldering iron and melt the solder, sealing up the leak. You can do this with small leaks as well.

Step 7: Connecting the Service Valve to Your Compressor Line
For this step, you will need to consult your user manual once again. Locate where the compressor is in the manual, and there should be two lines that lead from the compressor.
Once you have found these lines, attach one of the lines to the service valve that comes with your freon kit. After you have connected your service valve, take the other cable from the compressor and attach it to the tap valve that also comes with your freon recharging kit.
Step 8: Attach Your Freon Kit to the Associated Valves
If you look at the freon kit, you will find one of two things. First, on the side of the box, there will be a detailed step-by-step diagram showing you how to connect the kit to the two valves you have just prepared.
Either the diagram is on the box, or a small manual inside the box details the same thing.
Follow the diagram from either source and attach the freon kit to your window air conditioning unit. Double-check to ensure the valves are connected securely and have a tight fit.
You might spray super cold freon everywhere if the valves are not connected properly.
Step 9: Turn On the Freon and Recharge Your Air Conditioner
Finally, it is time to do what you have been waiting for. You should be clear if you have followed this letter’s guide. First, check the user manual of the window unit to see the maximum amount of freon it can hold.
Once again, check all of the connections, making sure that there are no untreated leaks. Then check that the freon canister is connected to the compressor lines fully.
Once you are ready to go, plug in your unit and turn it on. Be sure to switch it to its highest setting, or this step will take a while.
As the air conditioner runs, the freon in the canister will start to flow into the compressor, filling up what was missing.
As soon as the gauge on the freon kit shows that the window unit has reached its maximum allowed freon, turn the window unit off and unplug it again.
After unplugging the device, you should remove the freon kit from the compressor lines. Then you will need to remove the service valve and the tap valves from the compressor lines.
Once everything is disconnected, put everything back together and screw the unit’s casing back on.
Then, place the unit back into the window securely and plug it back in. you should now be experiencing cold air blasting into your room as if your window air conditioning unit was brand new!
Final Thoughts
As this article ends, we hope we have provided you with all the necessary steps as clearly as possible. With these steps, you should be able to recharge your window unit’s freon in under 30 minutes, provided that you have all the materials on hand.
With that said, if you do not feel like you are up to the task of recharging your window unit, you can always contact a professional to come out and do it for you.


