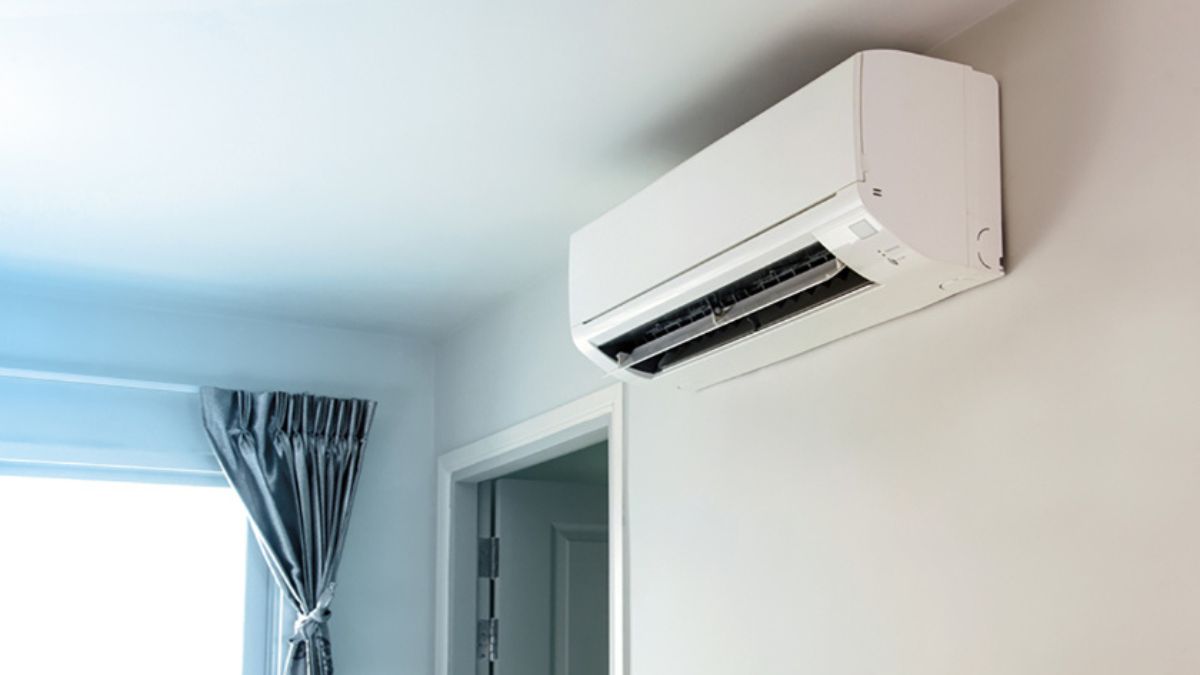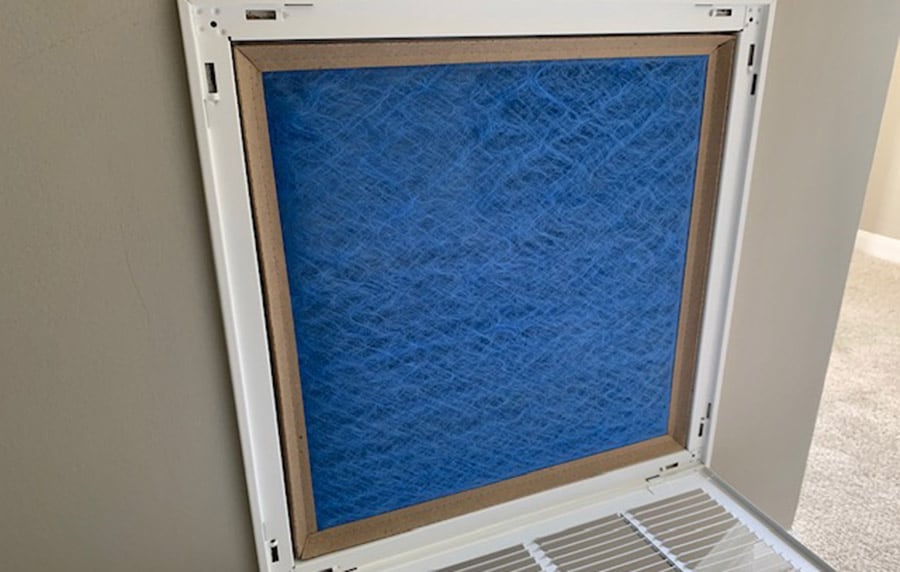
If you’re about to go into summer or wintertime, chances are you’re going to be putting your heat pump system into good use. Before it gets to that point, it’s a great idea to carry out some routine maintenance to ensure all are working as they should. A lack of cleaning can lead to a build-up of dirt, dust, pet dander, and other allergens, causing the filter to become blocked up and the unit to perform inefficiently and create poor indoor air quality. That’s something you definitely want to avoid.
The filter plays a vital role in preserving the condition of the air in your home. It removes things like dust, dirt, mold, and allergens from the atmosphere, improving the air quality and thus protecting you and your family.
Whether you’re the owner of a brand new heat pump system, or if you’re just looking for a refresh on how to replace the air filter, you’ve come to the right place. Heat pumps are a brilliant alternative to the more common combustion-based methods of home-based heating. However, if you want them to keep delivering the best quality air possible, then you must carry out regular maintenance to make sure they keep performing as they should.
Do you need a Licensed Heating and Cooling Contractor? We can help! [sherpa id=”20408d12″] from top licensed and screened HVAC in your area!
It’s worth noting that there are two types of filters when it comes to heat pump systems. You have temporary and permanent. In this guide, we will be guiding you through the steps on how to replace your temporary filters, not to clean the permanent ones. However, you will still find some value in the following steps if you’re looking for information on the latter.
How to Replace Your Air Source Heat Pump Air Filter
Your air source heat pump system be either a package unit or a split system.
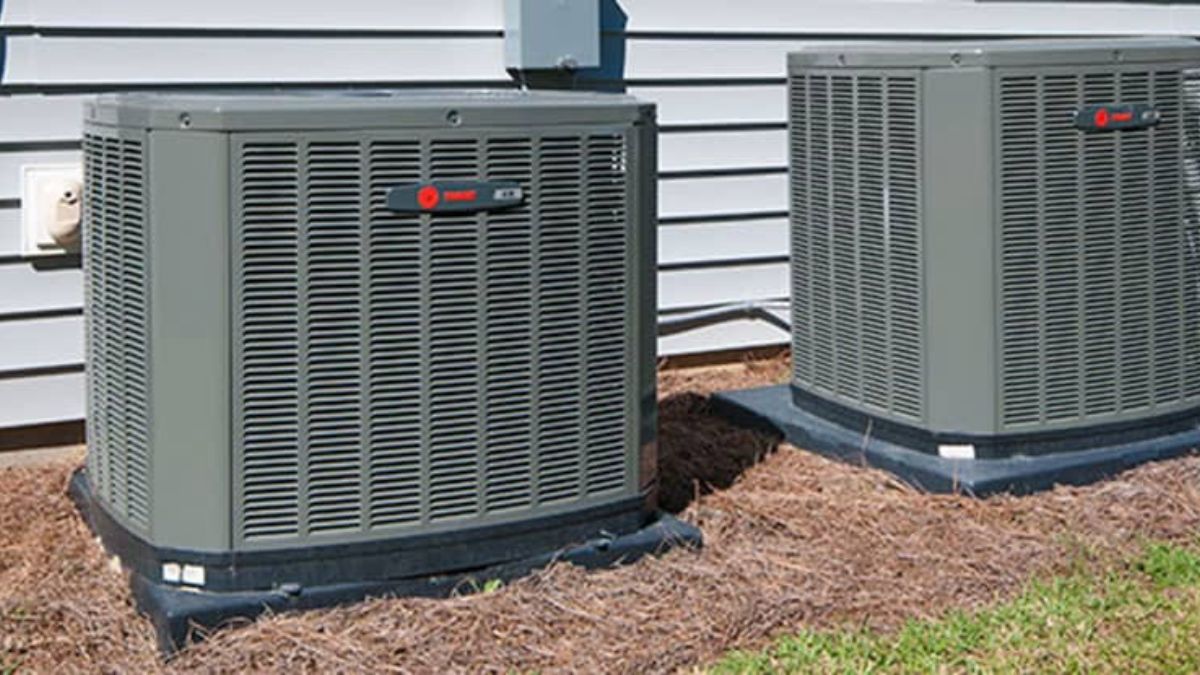
- A package air source heat pump is a single unit that is placed on the exterior that contains all the heat pump components inside one unit.
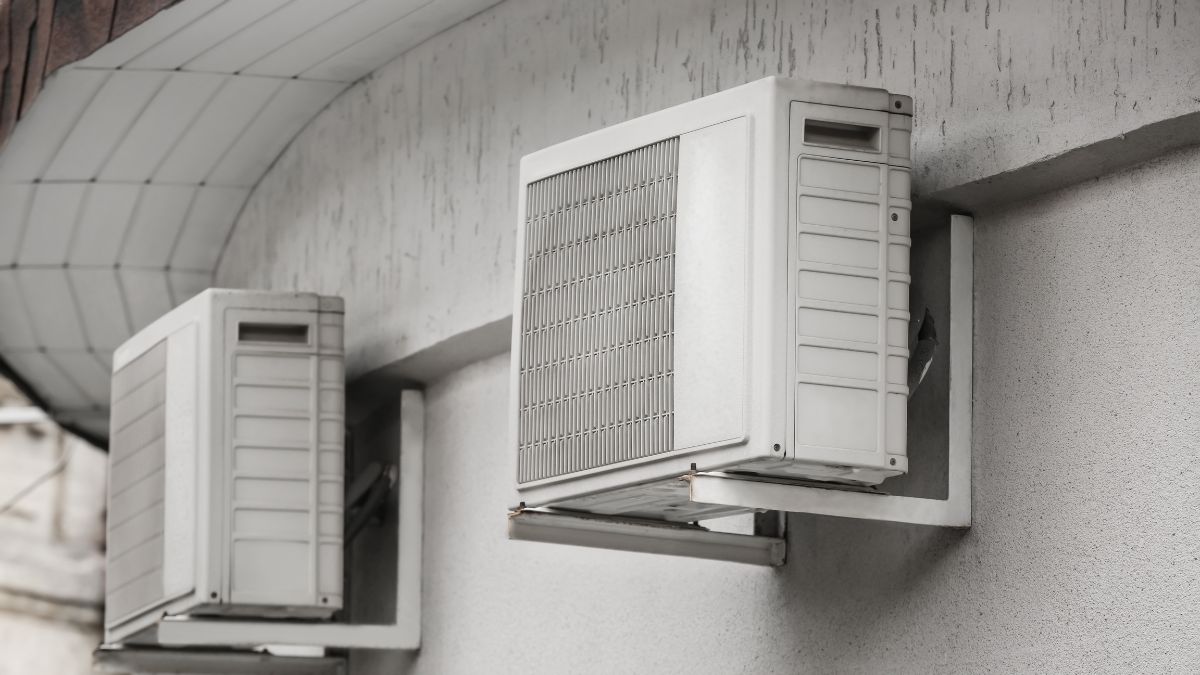
- A split air source heat pump is a heat pump divided into two units. These include an indoor air handler that is stored in an interior closet, crawl space, or attic. The condensing unit contains the compressor which is located on the exterior.
If you have a large house, it is likely you have two or more air source heat pumps. Depending on the type of heat pump system you have, there could be multiple filters that you must replace as part of your routine maintenance. Firstly, we will begin with the air handler.
Locate Your Air Filter
Not all air filters are located in the same place. This often depends on the type of air source heat pump you have. So, let’s locate your air filter.
Let’s first locate your return air duct. The return air vent is usually larger than the supply vents and is normally located near the thermostat and can be found in either the floor, wall, or ceiling. The majority of all air filters will be located here. However, this is not always the case.
If you have a horizontal or vertical air handler located inside an interior room or closet, the air filter often fits in a slot at the intake side that the air filter slides into.
In older houses, each room would have a separate air return and supply register. If your system is set up this way, you may or may not have small filters in each return air register and likely have a larger filter at a different location, such as right before the air handler or package unit.
Insider’s Tip: If you are still having trouble locating your return air location, with the system running, place a tissue near the vent. It the tissue draws towards the vent and sticks, this is your air return.
How to Replace Your Return Vent Air Filters
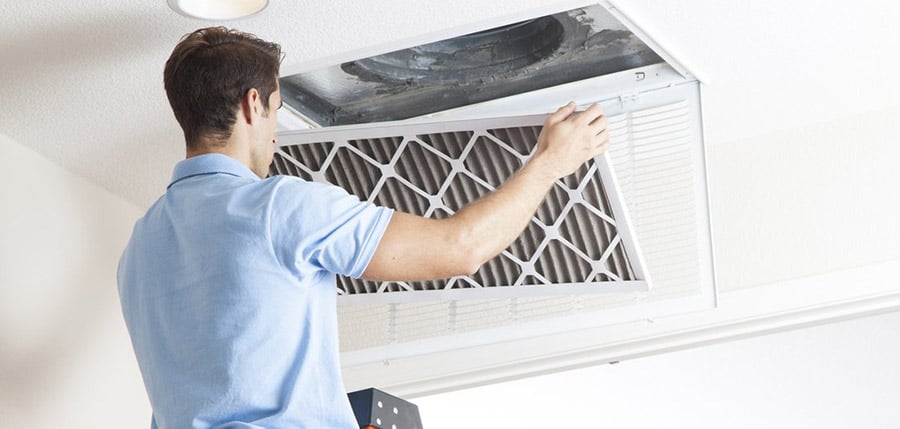
STEP 1 – Turn off the unit
First things first, you need to make sure that your heat pump system is turned off. This is primarily to protect the internal evaporator coil, as you should not be opening up any electric device while it is still running.
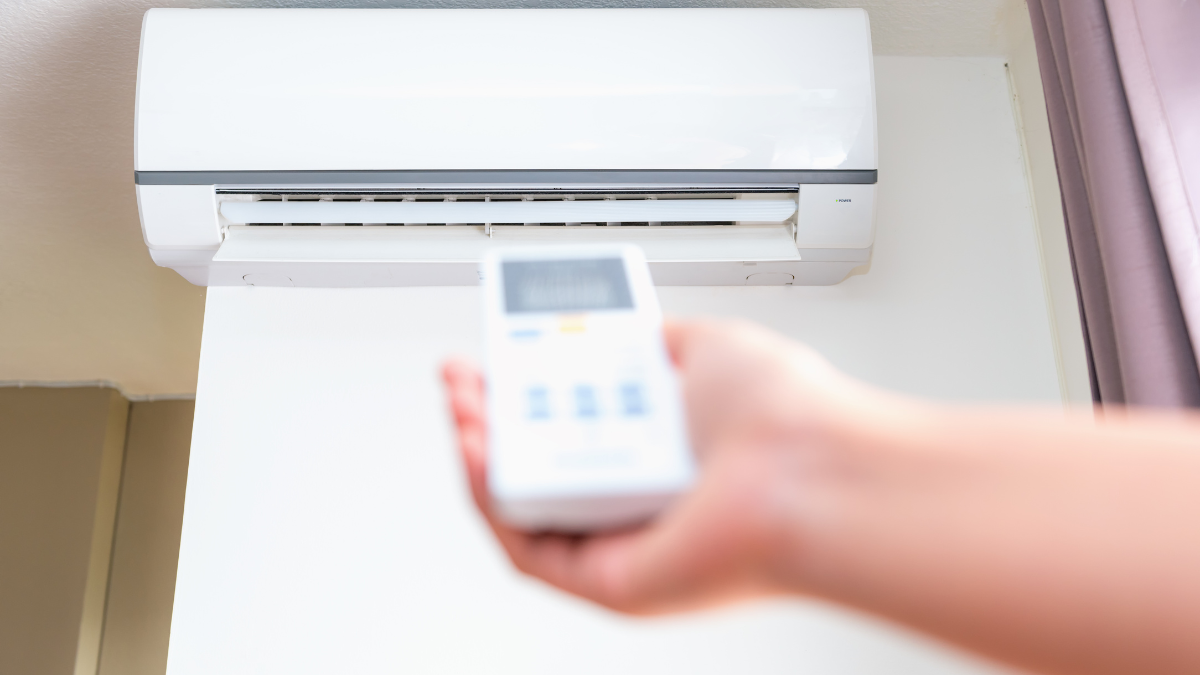
There are a couple of places you can do this with the most straightforward being at the thermostat. Simply turn the unit to the Off setting and wait for the unit to cycle off. You don’t need to turn the breaker off to change this air filter
STEP 2 – Remove the return cover
To open the return air cover to access the air filter you’ll need to open the return filter cover. You may need a flathead screwdriver to do this, however, most just have metal clips holding it in place. If the return air vent is located in the ceiling or high up on a wall, you’ll need a ladder to access it.
STEP 3 – Remove the dirty air filter
Now that we have located your air filter, it’s time to remove it. The filter should remove fairly easily, provided it was properly sized. The filter size is often written on the side of the filter. If no size is visible, you can measure the interior dimensions to determine the proper filter size.
This is a good opportunity to take a clean the interior of the return air vent if needed. A dust brush or a product like a swifter duster with an extended handler is excellent at removing dust that managed to get by the air filter and collect on the return vent walls.
STEP 4 – Insert the new filter
Replace the old filter with the new one, making sure you have the proper sized filter. Insert it back into its position with the airflow arrow pointing in towards the air return. If you install the filter incorrectly, then your filter could restrict airflow causing your heat pump to not work properly.
Step 5 – Replace the cover
Now all that’s left to do is to replace the cover, and you’re done with the air source unit filter change.
Step 6: Turn Your Thermostat Back On
Don’t forget to turn your thermostat back on to your desired temperature settings.
How to Replace Your Air Filter Located in the Heat Pump
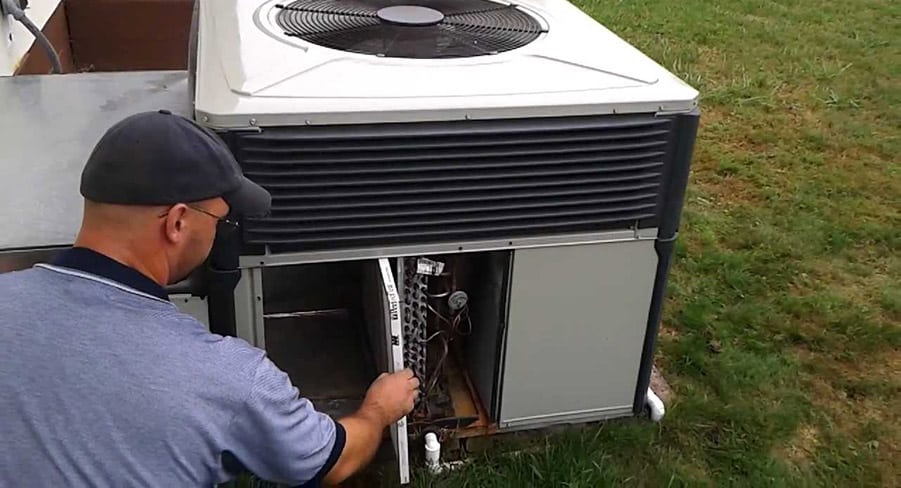
Air handlers located inside basements and interior rooms or closets will often have an air filter located at the air intake. The air intake is a slot located just below the evaporator coil. There are many different styles, each with varying filter types, so I will keep the following part as general as possible.
Step 1 – Shut Down the Heat Pump
Again, we will start by shutting off the indoor units before we get to cleaning the filters. You can do this with the thermostat by turning the switch to Off. Once you have initiated the shutdown, make sure you wait for a minute or so for everything to completely shut down and the system is completely off.
Step 2 – Open the Filter Door
The filter door is located at the intake. This is usually at the bottom of the unit but can be located at the top depending on how the system is configured.
On package heat pumps, the filter access door is located behind the cover panel as pictured above.
Depending on what type of indoor air handler you have, you will either have to take off the front cover or simply disconnect it so that you can access the inside. For most units, there are clips at either side of the cover that you can unhook and then pull off from the unit.
Step 3 – Remove the Old Air Filter
Once you have opened up the filter slot door, you should be able to see the air filter resting in the slot. Slide the old filter out to inspect it and replace it if needed.
Step 4: Insert the New Air Filter
Now it’s time to replace the old with the new. Make sure you match up the same filter size and place it back in the filter slot ensuring that the airflow arrow is pointing inward toward the evaporator coil.
Step 5 – Replace the Filter Cover Door
Once you’ve replaced your filters, it’s time to replace the filter cover door to its original place. Make sure you secure the filter door closed so that it creates the proper seal.
Step 6: Turn Your Heat Pump Back On
Finally, don’t forget to switch your system back on at the thermostat and set your desired temperature settings.
How Often Should You Change the Air Filter
So now you know how to replace the air filters, but how often should you replace them?
Well, it’s recommended that you change your air filter once every month if you want to keep your heat pump in tip-top shape. The air filters are cheap and easy to install, so there is no reason for you to wait too long between replacements.
Some air filters are made to last up to 90 days. These air filters are generally more expensive and designed to capture smaller dust particles and other allergens the cheaper filters do not capture.
With that being said, it is not uncommon to have a schedule for changing your air filter once every three months, but definitely no more than six. Once you start getting past the 6-month mark, the filter will almost certainly have lost the vast majority of its purpose and will no longer filter the harmful substances that can flow through the system.
The length of time you wait between filter changes should also depend on the quality of the filter that you use. If you use high-pleated fiberglass filters, then these could last for up to six months at a time. However, if you’re using cheaper fiberglass filters, you should really be changing every 30 days or so.
Here a few things for you to consider when it comes to the frequency of filter changes:
Insider’s Tip: Have you ever considered an air exchanger installed on your heat pump? Don’t know if you need an air exchanger? Check out our article Do You Need an Air Exchanger with a Heat Pump?
Do you have any pets?
If you have pets, then there will be much more dirt and allergens floating through the air. On top of that, dogs can smell. If your filters are constantly deodorizing bad smells, then they will get worn out pretty quickly. If you are the proud owner of some smelly pets, then you better get changing those filters at least once every month or so.
Are there young children in your household?
If there are young children in your household, then you need to make sure the air quality is as good as it can be, especially if they are newborns. Air quality is important to all of us, but none more so that our children. They are prone to picking up illnesses, so do your best to keep the bacteria and dirt out of the atmosphere.
Does anyone in your household have allergies?
If you have ever suffered from allergies, then you will know just how frustrating it can be to continually irritated by allergens in the air. Having a runny nose and sneezing isn’t fun for anybody. If anyone in your home suffers from a dust or pet allergy, a heat pump system can go a long way to reducing their symptoms and cleansing the air of the particles that cause them discomfort. For this to have the best effects, you should be changing the filter at least once every two months.
What is your budget?
Air filters are cheap, but they aren’t free. If you have a smaller budget and you don’t want to spend money replacing your air filter every 30 days, that’s totally fine. You can make do with a quarterly change and not see too many differences in air quality.
How often do you have the heat pump system on?
The more your heat pump system is running, the more dirt, dust, and bacteria the filter is going to pick up. If you like to keep your heat pump system running for the majority of the time, then you will need to change it more frequently. Again, this is not a necessity, but the air quality will suffer as a result if you don’t.
Many people remove their air filters because they don’t fully understand why the air filter is so important. In our article Can You Run a Heat Pump Without an Air Filter? we address this question and explain why it’s so important.
What are the Signs That My Air Filter Needs Changing?
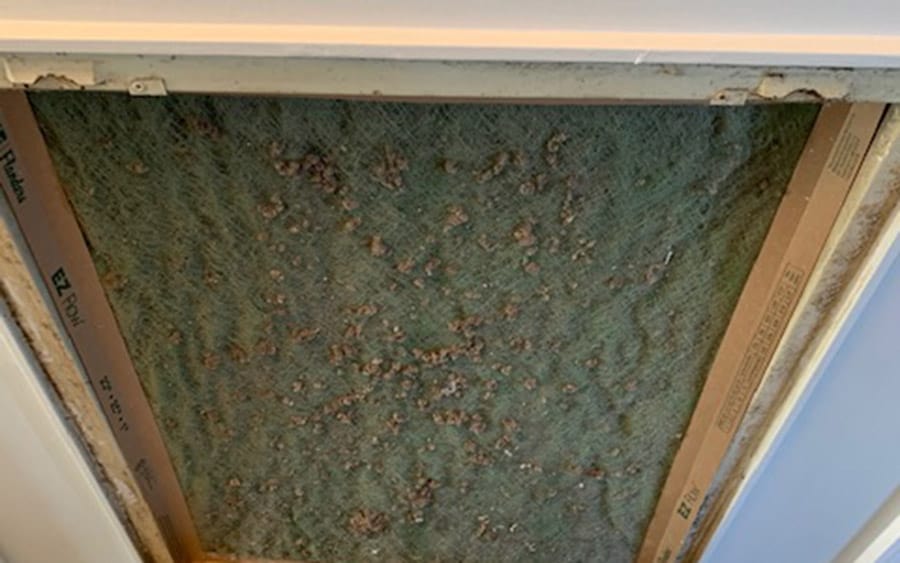
All of the steps listed above are preventative measures. However, from time to time, our heat pump system may start to fail or work sub-optimally due to dirty filters. Here are a few things to look out for:
An increase in energy usage
If you notice that your heat pump is starting to use more electricity, this could be a sign that the filters need to be replaced. If your bill starts to rise higher than usual, take a look at the filters to see if they are clogged up. The harder it is for the air to pass through, the more the system has to work to achieve the same effect. This means more energy output and less efficient running costs.
You notice a decrease in air quality.
In some cases, you may be able to feel a substantial drop in air quality. This could be that you start to notice some bad odors, or you feel that there is more dust in the air. If you ever start to notice these problems, then check your filters for signs of wear.
Reduced airflow from the indoor units
If your indoor air units start to suffer from a reduced airflow, there is a chance there is a blockage somewhere. The first port of call should be to check the air filters directly on the indoor unit. If they are clear, then you need to check the air source filter. Replace these filters, and if the problem persists, you should call a technician for a professional diagnosis.
Here are 16 Reasons Your Heat Pump Doesn’t Blow Hot Air.
Wrap up
It’s important to think of your heat pump as if they were the lungs of your house. If they are unhealthy (dirty filters), they will spread low-quality air around your home, which could present health concerns for those who are consistently breathing the air in.
Luckily, air pump filters only need replacing once every month at the very most, and that is if you are aiming to keep your system in pristine condition. On top of that, it’s very easy to replace your filters, especially if you stick to the steps in this guide.
Good luck with your replacement, and thanks for reading!


