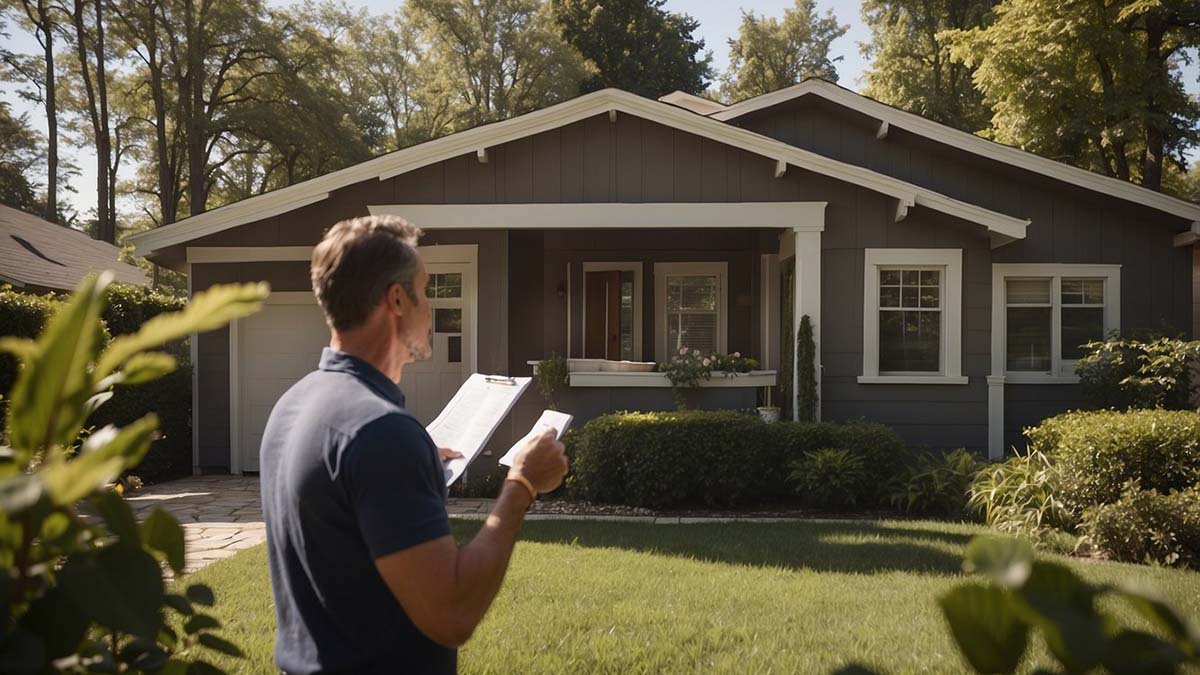
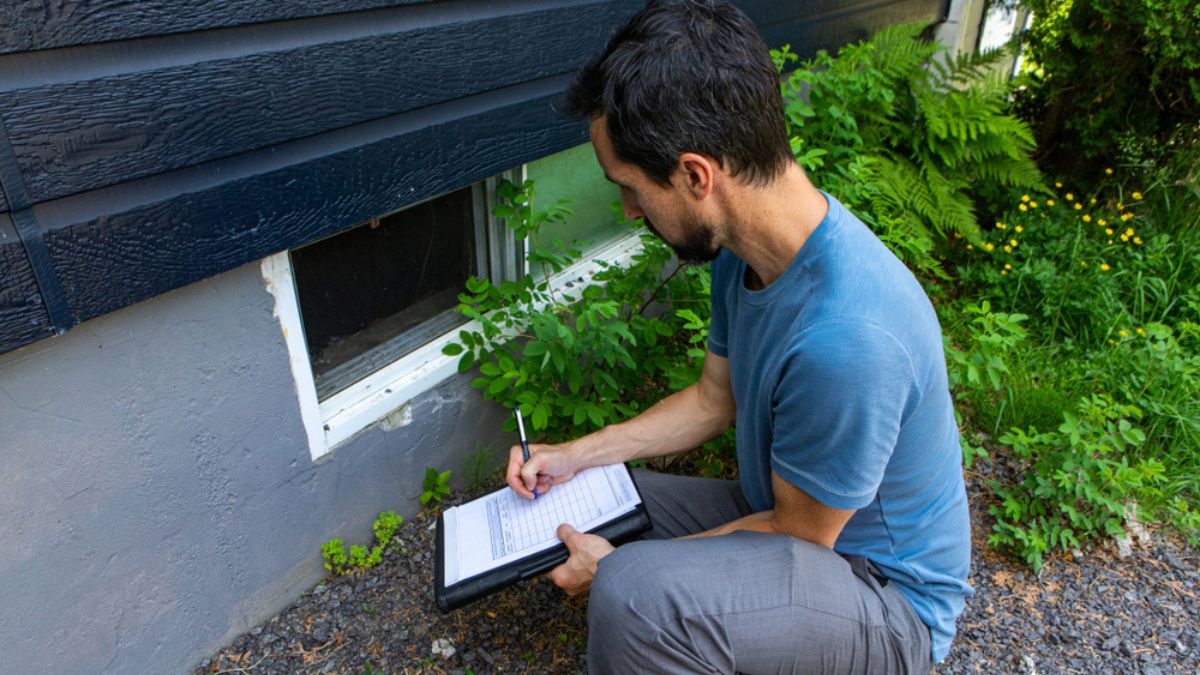
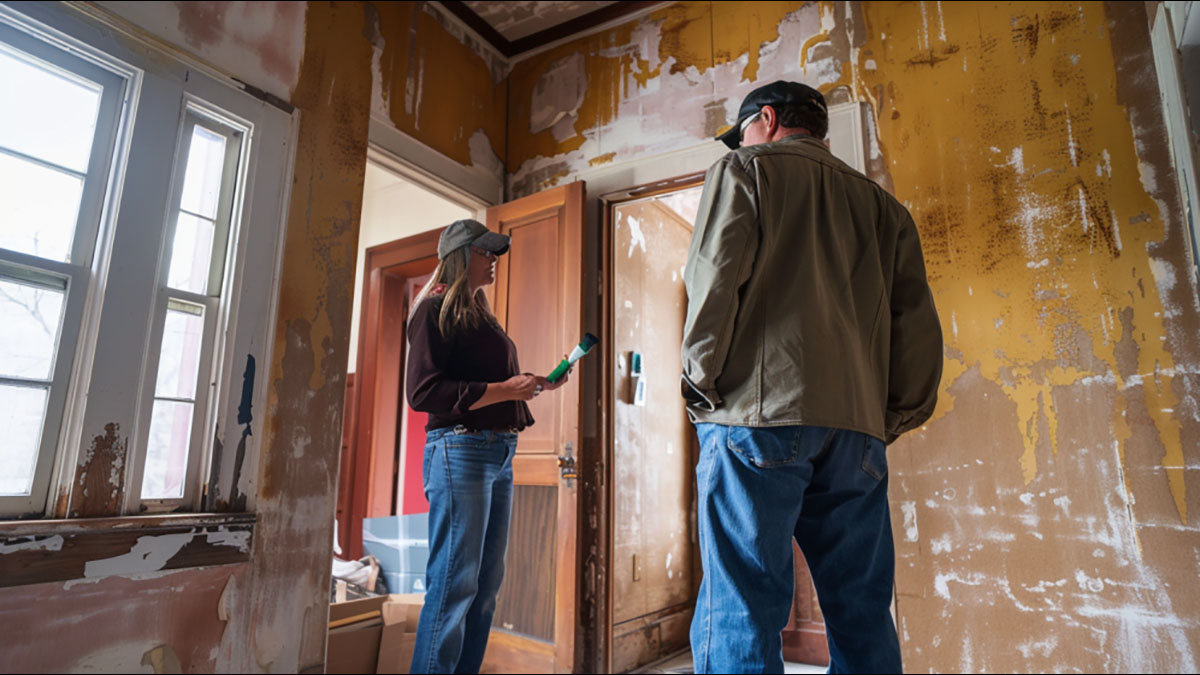
Congratulations! It looks like you’ve found a qualified buyer for your home and have come to terms with a purchase price. Now the home inspection day is looming. You can do several things to help make a buyer’s home inspection go smoothly and reduce negotiations after the home inspection.
All this may have you wondering how to pass a home inspection? A home inspection doesn’t have a pass or fail grade; it’s is a professional opinion of the home’s condition provided by a home inspector according to the inspector’s Standards of Practice.
There are several things a seller can do to help the home inspection go smoothly. We’ve compiled a list of 35 home inspection tips for sellers to pass a home inspection. These are common items noted in a home inspection report that could be the difference between closing a sale or not.
Seller Tips: Before Your Home Inspection Day
Home inspection day can be a stressful time for home buyers and sellers. Home inspection red flags risk killing a potential home sale. The buyers have agreed to purchase the home contingent on a satisfactory home inspection. They’ve hired and scheduled the home inspection. But don’t stress about it. As the inspection day approaches, sellers anticipate what will happen if the home inspection doesn’t go well.
A bad home inspection could cost them the sale of their home, even with an agreed-upon purchase. The majority of home inspections consist of minor repairs and maintenance items that clutter a home inspection report. This can make it appear to buyers that the home has been neglected, which is usually not the case at all.
With a little preparation, the sellers can pass a home inspection with flying colors. If you know you have repairs to be made, be sure a licensed contractor completes the repairs. Unlicensed contractor work is a sign of unprofessionalism and indicates that you were looking for the cheapest repair option rather than a professional repair.
Have a Pre-Listing Home Inspection Done by Your Home Inspector
A pre-listing home inspection should ideally be done before listing the house for sale and accepting a purchase offer. As part of a pre-listing home inspection, a certified home inspector that you, the seller hires, will thoroughly examine the home, including many of the items listed here.
A pre-listing home inspection allows you all the time you need to have the house repaired on your terms, not the buyers. Repairs are often far less expensive and can be done on your timeline and not someone else’s.
Trim Hedges and Tree Limbs One Foot Away From the House
Home inspectors look for a clear pathway between vegetation and exterior walls. As a general rule of thumb, home inspectors look for about 12 inches of space between vegetation and the house. Home inspectors also will examine if tree branches are touching the house or roof. Trim tree limbs away from the exterior siding, roof coverings, gutters, and eaves.
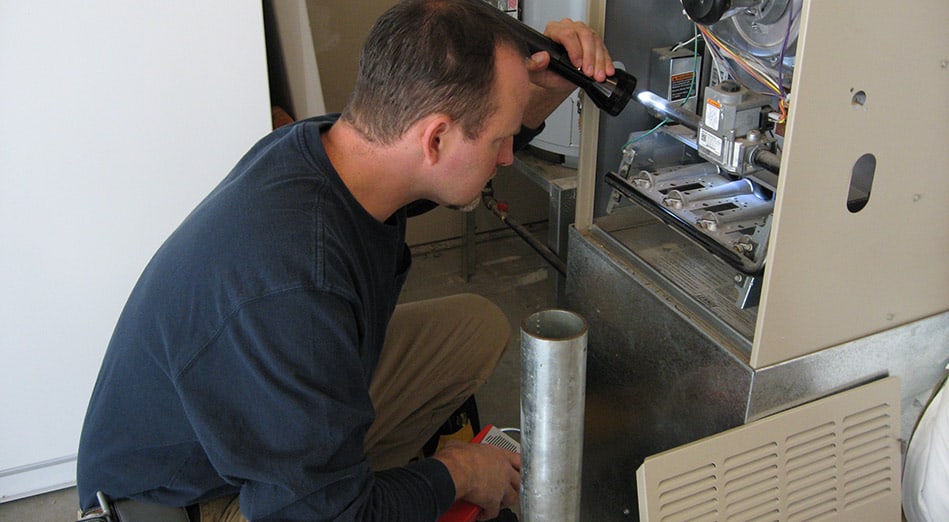
Have Your Heating and Cooling System Professionally Serviced
Have your heating and cooling system in tip-top shape by having the HVAC system cleaned and serviced by a licensed heating and cooling contractor. Servicing the system will include checking the refrigerant levels and gassing the system up if needed, cleaning the coils, changing the air filters, and changing the thermostat batteries.
Have paperwork readily available for the home inspector to review. Home inspectors like to see documentation to validate findings and pass along to the home buyers.
Move Excess Clutter from the Home to a Storage Unit
When you decide to put your home on the market, it’s a good idea to begin the process of decluttering the house for showing. Depersonalizing a home helps potential buyers to see themselves owning a home. Home inspectors and appraisers, and termite inspectors, will need to move around in the home freely for inspection.
Home inspectors don’t move furniture and other personal items due to liability issues. The home inspector needs to move freely around the furniture, boxes, totes, etc., during the home inspection.
While it may not be feasible to remove all personal belongings from a house you live in. It’s a good idea to remove excess items like furniture, clothing in closets, storage totes, and other personal items if possible. Renting a storage building or having a POD delivered will allow you a place to house things during the home selling process temporarily.
Replace Blown Light Bulbs Around Your House
Home inspectors will check the lights inside and outside the home as part of the inspection. A blown bulb in a fixture will cause the home inspector to note inoperative lights in a home. The home inspector won’t know if the light is defective due to a blown bulb or an electrical problem. Changing out blown out light bulbs is inexpensive and will prevent unnecessary items from littering the home inspection report.
Professional Tip: take this opportunity to replace all light bulbs in your home with LED bulbs. They will brighten your space. Bright rooms are inviting and will help your house show better at the open house to potential home buyers.
Check Your Toilets
Toilet repairs are relatively simple for the DIY homeowner. Sellers should check and tighten loose toilet seats, check shut off valves for leaks, repair toilets that run continuously, and replace loose toilet seals and tighten toilets loose at the base. Replace any missing bolt caps from the bottom and caulk the toilet’s perimeter along the front and two sides.
Change Air Filters
Replacing old, dirty air filters can help clean contaminants from the air, causing a house to smell stuffy. Air filters help capture pollutants in the air like pet dander, dust particles, and mold spores before heating/cooling the system.
A dirty air filter prevents the air from being appropriately filtered, causing dust and dander buildup in your home. Clean air filters also help your heating and cooling system to run more efficiently. Depending on the type of air filter used, it should be replaced every 30-90 days.
Label Breakers in the Electrical Panel Box
The home inspector will look to see that all breakers are clearly labeled. Make sure all circuit breakers are correctly marked and clearly labeled, and legible. Having a typed ledger posted inside the cover of the electrical panel is often ideal.
Professional Tip: Many breaker panels have a handwritten breaker ledger that can fade over time or be difficult to read. Use a label maker to clearly and identify each circuit breaker. Verify breakers are correctly labeled by turning all breakers off and turning them back on one by one while marking.
Test Your Arc Fault Breakers inside the Electrical Panel Box
Arc fault breakers (also known as AFCI breakers) help protect the bedrooms and other living spaces from an arc surge, causing a fire. If present, these breakers are located in the electrical service panel and have a push-button tester directly on the circuit breaker. AFCI breakers should be tested once a month.
These breakers are a relatively new part of the electrical code and may not have been a requirement when your house was constructed.
Test Your GFCI Outlets for under $10
A common defect in a home inspection report is a faulty GFCI outlet. GFCI outlets do not last forever. These devices often fail to trip over time and have to be replaced. Exterior GFCIs are particularly vulnerable because of exposure to moisture and dirt.
All GFCIs have a test and reset button on the receptacle. Test each GFCI outlet to be sure it trips and resets appropriately. If your GFCI outlet has a blinking light, it may need to be replaced. You can purchase a GFCI outlet tester at Lowe’s or Home Depot for about $10.
Check Smoke and Carbon Monoxide Detectors
Change the batteries in your smoke alarms and carbon monoxide detectors if they are six months old or older. Old batteries could begin chirping at any time. The home inspector will inspect the smoke and carbon monoxide detectors for operation using the test button on the detectors. Check the test button to be sure it’s functioning correctly.
Repair Wood Rot on Exterior Doors and Door Frames
Exterior door frames are prone to wood rot. Exterior door frames tend to rot at the bottom along the threshold caused by rainfall splashing against the wood. While this is a common defect found, the home inspector and the termite inspector will likely note this defect requiring repair.
Repairing exterior wood rot and painting door frames before the home inspection occurs is a relatively inexpensive repair (usually under $150) that will help produce a satisfactory home inspection report.
Check Garage Door Openers and the Auto Reverse Sensor
Check your garage door opener and the auto-reverse sensors to verify they are functioning correctly. The sensors create an infrared beam that triggers the garage door to stay in reverse operation if a child or pet walks under the door while the door is in process. The sensors often don’t function properly because they get dirty or the alignment is off.
Tighten Loose Cabinet Door Hinges
A home inspector will open and close cabinet doors during the home inspection. Loose doors would be noted in the home inspection report. Tighten the hardware on cabinet doors in the kitchen, laundry room, and bathrooms.
Professional Tip: For wood screw holes that have stripped, insert a wooden toothpick or match stick with wood glue or wood filler compound in the hole. Remove the excess and allow to dry for several hours. When dry, reattach hinge hardware with wood screws by hand.
Spray for Bugs
Home inspectors will look for evidence of insect activity during a home inspection. They have a pest control company treat the home for insects such as fleas, roaches, ants, etc., before the home inspection is recommended.
Clean Your Appliances
It is recommended that you have all your appliances cleaned. Cooktops and ovens especially tend to smoke with turned on if dirty. Make sure refrigerators and ice makers are cleaned and turned on and functioning for the home inspection. Home inspectors only inspect built-in appliances.
Remove Clutter From Under Sinks
The home inspector will need to check under the kitchen and bathroom sinks for leaks and potential water damage to the cabinetry. Removing items stored under the sink, check for leaks and clean the area. This will help the home inspector view the piping as he runs the water from the inspection fixtures.
Professional Tip: use cleaning tote caddies to store items you keep under the sinks in the kitchen and bathrooms. They are easy for home inspectors to remove and put back during the home inspection.
Caulk Around Doors, Windows, Bathtubs, and Sinks
Caulking is one of those maintenance items that is easily overlooked. Have the exterior side of the windows and door caulk. It would be best if you also caulked around bathtubs, countertops, and sinks to prevent this minor repair from landing inside your home inspection report.
Clean Gutters and Downspouts
If your home has gutters, cleaning the gutters should be part of your routine maintenance in the winter. If you’ve not checked your gutters lately, they will likely have debris in them that could prevent water from draining correctly.
Cleaning your gutters and sealing any gaps in the gutter piping that leaks are needed. In this area, the home inspector will check thoroughly to ensure water is draining correctly away from the house.
Power Wash Exterior of the House
Power washing the exterior of the house will remove dirt buildup and green algae. This will improve the overall appearance of the house for the home inspection.
Check and Repair any Plumbing Leaks
Check and repair any leaky plumbing fixtures such as kitchen faucets, shut off valves, bathroom faucets, showerheads, etc. These minor leaks are often inexpensive repairs. If a severe leak exists, repairing it early will often be cheaper than doing it after the home inspection when a licensed plumber will require the repair.
Test your Exterior Locks
The home inspector will check the exterior door locks and deadbolts to make sure they are latching correctly. If the exterior door locks or deadbolts are not latching correctly, the hardware will need to be adjusted to operate correctly.
Test Your Interior Doors
The home inspector will check your interior doors to be sure they are closing and latching properly. He will also check the interior door locks to be sure they are functioning correctly. Interior doors that are sticking or not latching correctly will need to be adjusted.
Seller Tips: What to Do on Home Inspection Day

So your home inspection day has finally arrived. You’ve gone through the above list and have made several repairs. Access restrictions are one of the most common complaints from buyers and home inspectors. For example, home inspectors do not move furniture during a home inspection. As we continue, let’s look at what you can do today to ensure everything goes smoothly.
Clear Access to Attic
Make sure there is clear access to the attic ladder. Ensure the home inspector can easily pull down the attic ladder that the ladder opens properly and rests firmly on the ground.
If you have an attic hatch instead of a pull door attic ladder, make sure there is space available for the home inspector to set up a ladder to access the attic. Remove shelving, clothes, totes, and other storage items that could hinder the home inspector.
Clear Access to the Panel Box
The examination of the electrical panel is an essential part of the home inspection. The home inspector will need to access and be able to remove the cover panel for assessment. Make sure the home inspector has a clear walking path to the electrical panel. Remove any items or furniture that could obstruct access to the electrical panels.
Clear Access to Water Heater
The home inspector will need to examination the water heater as part of the home inspection. The home inspector will need a clear path to examine the water heater tank, supply pipe connections, the main service disconnect, and other components.
Ensure the home inspector has a clear walking path to the water heater. Remove any belongings that could obstruct access to the water heater.
Clear Access to Air Handler
If you have a split heating and cooling system, you’ll likely have an air handler or furnace located in the attic. The home inspector will need to clear access to the air handler to examine the unit, ductwork, condensate drain pipes, and pan under the unit. Make sure personal belonging stored in the attic do not block access to the unit.
Clear Access to Condensing Unit
The condensing unit is the part of the heat pump system located outside, usually on the home’s side or rear. The home inspector will need to have clear access to the condenser to examine the unit, refrigerant lines, and condensate drain pipes. Ensure vegetation is trimmed away from the unit, and any items such as trash cans, fencing, etc., do not block access to the unit.
Turn on Gas Pilot Lights
Many homeowners turn pilot lights off on things light gas log inserts when not in use. Most homeowners aren’t aware that, according to the Standards of Practice, home inspectors are not required to light pilot lights on gas log inserts, water heaters, and other appliances.
Once a pilot light is off, it can take up to 15 minutes to relight. To prevent a home inspector from noting a device or appliance as inoperative or not tested, have all pilot lights turned on before the home inspector arrives.
Access to Keys for Gates
If you are not planning to be present for the home inspection, please leave any keys for the home inspector. Having keys available for locked gated, detached buildings, keyed deadbolt locks, and storage areas will prevent these areas from being marked inaccessible on the home inspection report.
Have Repair and Service Records Readily Available
If you’ve had any repairs made or had the mechanicals serviced, have a copy of the records available for the home inspector if they have any questions or concerns about who performed the work.
Professional Tip: Store manuals for appliances and equipment along with paid contractor invoices and receipts in a three-ring binder. This will make it convenient for the new owners to have these items in one place.
Empty the Dishwasher
The home inspector will want to run the dishwasher on several cycles for testing. The dishwasher will be run on a wash and rinse cycle to verify there is no leaking around the door and that the drain pumps are working correctly.
Have a Clean House
The home inspector will be walking through the house and taking numerous photos. Most inspectors today often take between 50-100 photos to include in their inspection reports. Wipe off window sills to remove dust and dead insects. While the house’s cleanliness doesn’t factor into the home inspection findings, it can raise the home inspector’s suspicion as to how well the house has been maintained.
Plan for a Minimum Three Hour Home Inspection
Most home inspections will take a minimum of 2-3 hours to complete. If you plan to attend the home inspection, please block out a minimum of 3 hours to complete the home inspection. If you are not planning to attend, plan to vacate the home for at least 3 hours.
Do not leave a minor at home alone for the home inspector. Most home inspectors will not enter a home if a minor is home alone.
Crate Your Pets or Arrange for a Dog Walker or Visit a Dog Park
You should crate your pets if you plan to leave them at the house during the home inspection. Some dogs can get very territorial when a stranger arrives.
Some home inspectors don’t like dogs or cats and will refuse to inspect the house without the pets being secured. If you don’t have a crate for your pet, plan to take your pet with you for the day to a dog park or arrange for a pet sitter service.
A home inspection isn’t a pass or fail, but sometimes it sure looks and feels that way. If you follow these tips, you should sail through the home inspection process with high marks. Your buyer will be happy, and you’ll minimize (or even eliminate) any after home inspection negotiations, which can cost you thousands of dollars.


