Exterior basement waterproofing is crucial in protecting your home from water damage. It involves applying a waterproof barrier to your basement’s outer walls and installing a drainage system.
Home where the basement is always dry, free from dampness, mold, and water damage. That’s the power of exterior basement waterproofing, a crucial yet often overlooked aspect of home maintenance.
Waterproofing your basement from the outside not only keeps your basement dry but also protects the structural integrity of your home. It’s a proactive measure that saves you from costly basement repairs in the future.
Get FREE quotes from local foundation repair contractors in your area today. Whether you need a pier replaced, basement waterproofing, or a full foundation replacement - We Can Help! All Contractors are screened, licensed, and insured.
What is Exterior Basement Waterproofing?
Exterior basement waterproofing, also known as positive side waterproofing, is a method used to prevent water from entering your basement. It involves applying a waterproof barrier or membrane to the outside walls of your basement, effectively blocking water from penetrating the basement walls.
Exterior basement waterproofing also includes installing a drainage system, such as a French drain, to divert water away from your home’s foundation. This two-pronged approach ensures your basement stays dry, even during heavy rains or in areas with high water tables.
Why Should I Invest in Exterior Basement Waterproofing?
Here are some compelling reasons:
- Home Protection: Exterior basement waterproofing protects your home from water damage. Keeping your basement dry safeguards your home’s structural integrity and prevents costly foundation repairs.
- Health Benefits: A dry basement is a healthy basement. By preventing water intrusion, you’re also preventing the growth of mold and mildew, which can lead to serious health issues like allergies and respiratory problems.
- Increased Property Value: A dry, well-maintained basement can significantly increase your property value. It’s a selling point for potential buyers and a sign that you’ve taken good care of your home.
- Peace of Mind: There’s nothing quite like the peace of mind that comes from knowing your home is protected. With exterior basement waterproofing, you can rest easy knowing that your basement is safe and dry.
Recognizing the Signs You Need Exterior Basement Waterproofing
Recognizing the signs that your basement needs waterproofing is the first step in protecting your home. So, what should you be on the lookout for?
- Water Leakage: Do you notice seepage in your basement after heavy rain? This clearly indicates that your current waterproofing system isn’t doing its job.
- Mold and Mildew: These fungi thrive in damp environments. If you spot mold or mildew in your basement, it’s a sure sign of excess moisture.
- Dampness: Your basement might feel damp or humid even without visible water. This is another sign that water flow is making its way into your basement.
- Efflorescence: This white, powdery substance can appear on your basement walls when water evaporates, leaving behind mineral deposits. It’s a telltale sign of water intrusion.
- Cracked Walls: Cracks in your basement walls can allow water to seep into your basement, especially during heavy rains.
- Musty Odors: If your basement smells musty, it’s likely due to mold and mildew caused by excess moisture.
Ignoring these signs can lead to serious consequences:
- Structural Damage: Water issues can weaken your home’s foundation, leading to structural damage over time.
- Health Issues: Mold and mildew can cause allergies and respiratory problems, impacting your and your family’s health.
- Decreased Property Value: A wet basement can be a red flag for potential buyers, lowering your property value.
- Increased Energy Costs: Excess humidity can make your home harder to heat and cool, leading to higher energy bills.
The sooner you address these signs, the better. Exterior basement waterproofing is not just about fixing a problem—it’s about preventing future issues and protecting your home. So, don’t wait until your basement is flooded to take action. Be proactive, and keep your basement dry and healthy.
Factors Leading to a Damp or Wet Basement
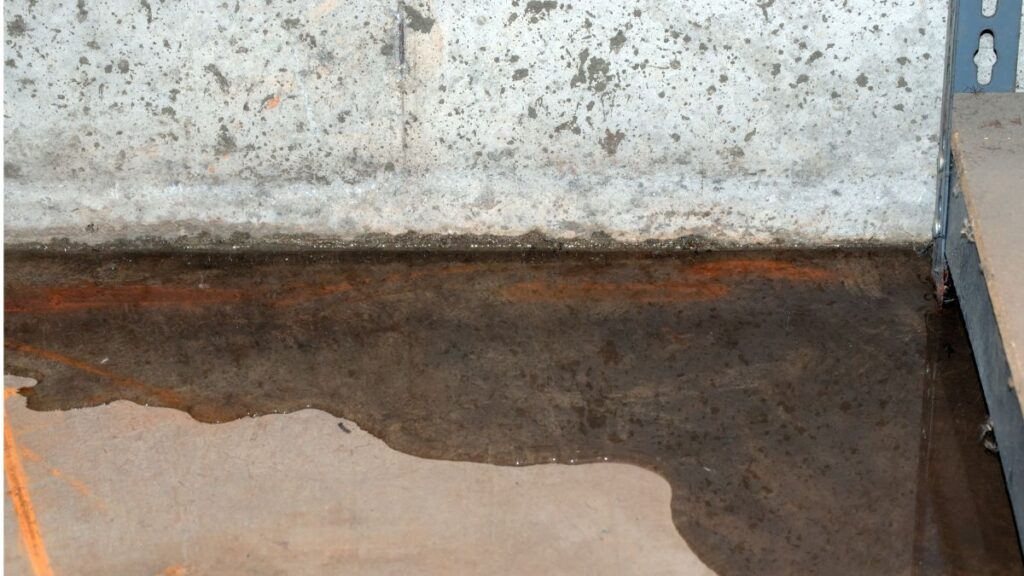
The primary cause of a wet or damp basement is moisture, which can come from various sources such as:
- Condensation
- Surface water or runoff
- Groundwater swelling
- Absence of window wells
- Cracks in the basement floor
- Vulnerable cove joints
- Pipe leaks
- Sewage backup
Condensation
Condensation can occur due to humid weather outside and cold concrete walls inside, or vice versa. To combat this, consider:
- Dehumidifiers – These range from models for large basements to crawl spaces costing $250 and up to $2,820. Dehumidifiers work best in sealed basements and crawl space encapsulations with little external humidity.
- Air vents and fans – Ensure air vents are open and debris-free. Use fans to circulate air. Vent bathroom air outside may add $50 to $100 to the water pipes needing installation—a new bathroom fan installation costs between $250 and $950.
- Insulation – Insulate drywall and pipes. Closed-cell foam insulation for drywall costs between $32 and $80 per square foot per inch of thickness sprayed in. Tube pipe foam insulation costs between $1.50 and $3.70 per six-foot piece, with thickness ranging from ½” – 1″.
Runoff
Runoff is water around your basement that doesn’t soak into the ground. To identify if runoff water enters your basement, tape foil over damp areas and check after 24 hours. If droplets form on top of the foil, it’s condensation. If moisture is under the foil, water comes from an outside source. To fix runoff problems, consider the following:
- Drain tiles and a sump pump – A drainage system installation costs between $2,500 and $15,000. This involves digging a 24” wide trench around the foundation, filling it with gravel, a drain, tiles, and a basin, and connecting it to the sump pump.
- Gutters and downspouts – Gutters divert water from the home, providing a simple solution to runoff water. Depending on the gutter material, a home needing 150 – 200 feet of gutters will cost between $600 and $1,600 to install or $3 – $8 per linear foot. Ensure downspouts direct water at least ten feet away from the foundation.
- Sloping – You could have your yard graded, with the soil gradually sloping away from the foundation and dropping by 2 to 3″ every ten feet. Grading improvements cost $125 per cubic yard of dirt, with average costs rising to $1,600 based on professional labor costs and the difficulty of access to the backyard with large equipment.
Groundwater Swelling
When the soil can’t absorb any more water, it starts to swell and can no longer drain, causing overflow into your basement. To prevent this, install a drainage system, install gutters, and grade the dirt around the basement.
Window Wells
Window wells prevent moisture damage to basement windows that are below or at ground level. They keep soil from pushing against openings in the foundation while guiding water away from the home. Covers for window wells range in price from $20 to $85 and can go as high as $2,320.
Floor Cracks
Cracks in the floor can allow water seepage in. When the soil is saturated with water, this causes excess water pooling up and drains through these cracks. An epoxy injection costs about $27 to fill a crack up to ¾” wide in cement solution.
A professional can fill a few cracks for a minimum charge of $150. Larger cracks can cost about $200-250 dollars to repair.
Cove Joint Repair
The average cost to repair a cove joint is $200 to $300. The cove joint, where the basement walls meet the floors, is prone to leaks due to a small gap between the two where heavy rain and water can seep in. The best solutions are interior or exterior drain tiles and an exterior waterproofing membrane.
Leaking Pipes
A leaky pipe is a relatively easy water-related problem to fix; however, it might still require some digging to locate the source of the leaky basement. A professional plumber will charge about $500 – $800 if no digging is involved. Usually, only a section of the pipe needs replacement, or there might be a loose valve.
Sewage Backup
A basement with a sewage backup is full of contaminants and odors. A professional should handle the cleanup for this. A 4-hour job will cost about $1,020, and a full 8-hour work day will cost $1,750.
The Process of Exterior Basement Waterproofing: A Step-by-Step Guide
Embarking on the journey of exterior basement waterproofing might seem daunting, but don’t worry. You’re about to get a comprehensive, step-by-step guide to the process.
Step 1: Inspection and Preparation
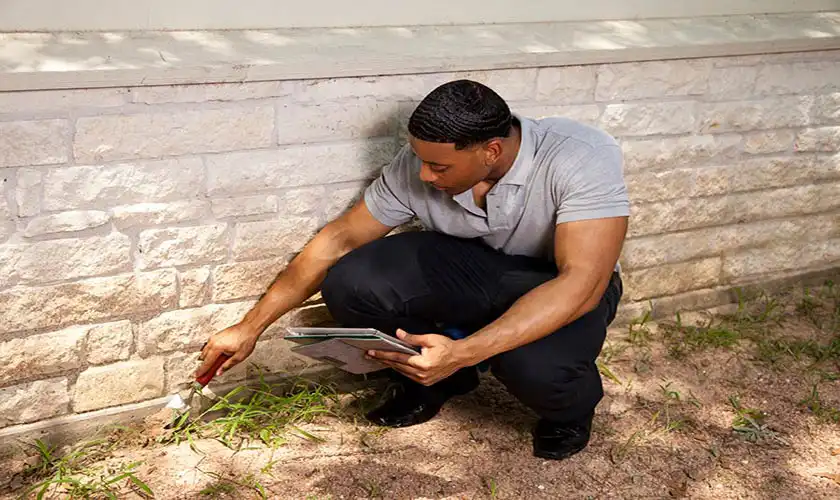
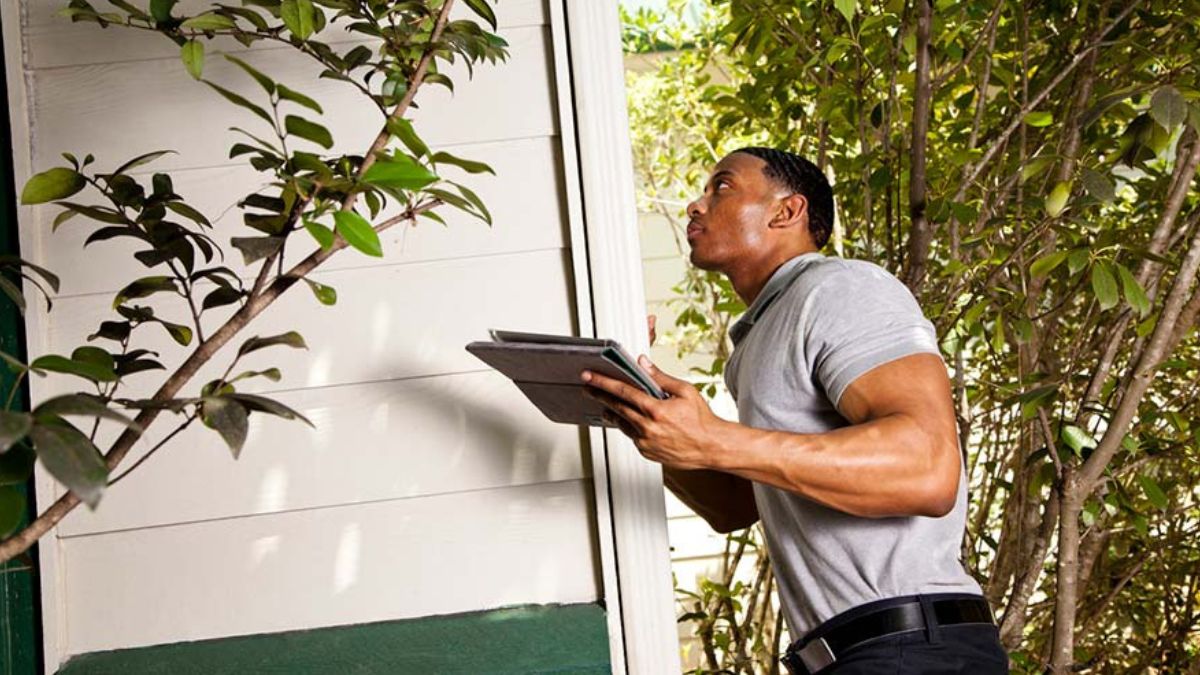
Before you start, inspect your basement thoroughly. Look for the signs of water intrusion we discussed earlier: water leaks, mold growth, dampness, efflorescence, cracked walls, and musty odors. This inspection will help you understand the extent of the problem and plan accordingly.
Next, prepare your basement for the waterproofing process. This might involve moving furniture, removing wall coverings, or even exterior excavation around your home’s foundation. Safety is paramount. Wear protective gear, and consider hiring professionals for tasks that require expertise.
Step 2: Applying the Waterproofing Membrane
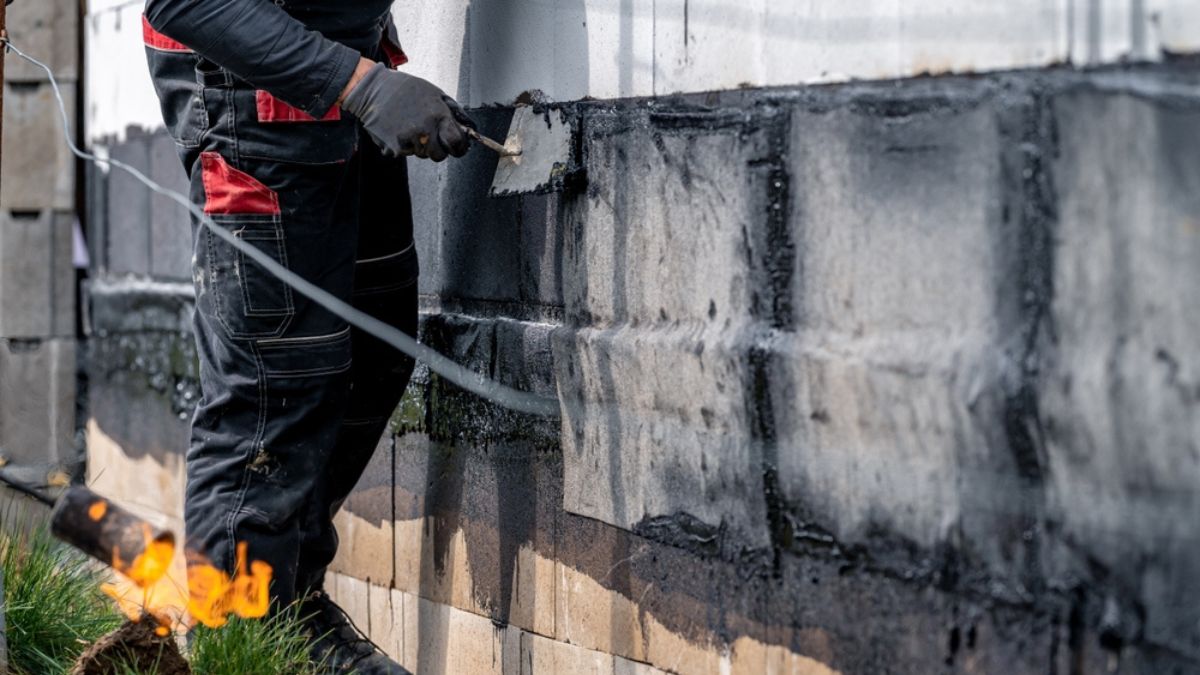
The waterproofing membrane is your first line of defense against water intrusion. It’s a thick, durable material applied to your basement’s exterior walls. This process requires specific tools, such as a trowel, sprayer, and elbow grease. But the result is a watertight barrier that protects your basement from the outside.
Step 3: Installing a Drainage System
A good drainage panel is crucial for exterior basement waterproofing. One popular option is a French drain, a trench filled with gravel, and a perforated pipe that redirects water away from your home.
Installing a French drain requires digging a trench around your home’s foundation, laying the pipe, and filling the trench with gravel. It’s a labor-intensive process, but it’s worth it for the peace of mind it brings.
Step 4: Backfilling and Landscaping
Once the waterproofing membrane and drainage system are in place, it’s time to backfill the excavated soil. This step requires care to avoid damaging the new waterproofing system. After backfilling, you can restore your landscaping, taking care to slope the ground away from your home to encourage water runoff.
Step 5: Interior Considerations
While exterior basement waterproofing tackles the problem from the outside, it’s also worth considering interior measures. This could include installing a sump pump to remove water that does make it into your basement or using a dehumidifier to control humidity levels.
Step 6: Regular Maintenance
Exterior basement waterproofing isn’t a set-it-and-forget-it solution. Regular maintenance, such as checking the drainage system, inspecting the waterproofing membrane, and controlling interior humidity, is crucial for long-term success.
Quick Checklist of The Tools and Materials You Might Need:
- Waterproofing membrane
- Trowel or sprayer
- Shovel for excavation
- French drain materials (gravel and perforated pipe)
- Sump pump (for interior considerations)
- Dehumidifier (for interior considerations)
And don’t forget these safety measures:
- Always wear protective gear, such as gloves and safety glasses.
- Be cautious when excavating to avoid damaging utilities.
- Consider hiring professionals for tasks that require expertise, such as installing a French drain or applying a waterproofing membrane.
Exterior basement waterproofing might seem like a big project, but it’s an achievable goal with the right knowledge and tools. And the benefits—a dry, healthy basement, a protected home, and peace of mind—are well worth the effort.
Exploring Types of Exterior Basement Waterproofing Systems
When it comes to exterior basement waterproofing, one size doesn’t fit all. Different homes and situations call for different solutions. Let’s explore some of the most common exterior basement waterproofing systems types and their pros and cons.
French Drains
French drains are a popular choice for exterior basement waterproofing. They consist of a trench filled with gravel and a perforated pipe that redirects water away from your home.
Pros
- Effective at diverting water away from your foundation
- Can be installed without major disruptions to your landscaping
Cons
- Installation can be labor-intensive
- Regular maintenance is required to prevent clogs
Sump Pumps
While typically used as part of an interior waterproofing strategy, sump pumps can also play a role in exterior basement waterproofing. They collect water entering your basement and pump it away from your home.
Pros
- Highly effective at removing water that makes it into your basement
- Can be equipped with a battery backup to ensure operation during power outages
Cons
- Requires professional installation
- Regular maintenance and occasional replacement are necessary
Waterproofing Membranes
Waterproofing membranes are applied to the exterior side of the masonry walls of your basement, forming a barrier that prevents water from entering.
Pros
- Provides a strong, durable barrier against water intrusion
- Can be combined with other waterproofing methods for added protection
Cons
- Application can be labor-intensive
- May require excavation around your home’s foundation
Exterior Basement Wall Coatings
Exterior basement wall coatings are a type of waterproof paint or sealant applied to your basement’s masonry block walls to prevent water intrusion.
Pros
- Easy to apply
- Can be used as a standalone solution or in conjunction with other waterproofing methods
Cons
- Not as durable as other methods
- May require reapplication over time
Exterior Drain Tiles
Exterior drainage tiles, also known as footing drains, are pipes installed around the perimeter of your home’s foundation. They collect water and divert it away from your home.
Pros
- Effective at collecting and diverting water
- Can be installed during home construction phase or added later
Cons
- Installation requires excavation around your home’s foundation
- Can become clogged over time, requiring maintenance
The best basement exterior waterproofing system for your home depends on your home’s construction, your local climate, and the nature of your water problem. It’s always a good idea to consult a waterproofing professional to determine the best solution. With the right system in place, you can enjoy a dry, healthy basement and the peace of mind that comes with it.
Understanding the Cost of Exterior Basement Waterproofing
Let’s talk about the elephant in the room: cost. It’s no secret that exterior basement waterproofing comes with a price tag. But considering the benefits—a dry, healthy basement, a protected home, and peace of mind, it’s an investment worth making.
Factors Affecting the Cost
Several factors can affect the cost of exterior basement waterproofing:
- The Size of Your Home: Larger homes have more foundation to waterproof, which can increase the cost.
- The Severity of the Problem: More severe water problems may require more extensive solutions, which can be more expensive.
- The Type of Waterproofing System: Different systems come with different costs. For example, a French drain might be more expensive to install than a waterproofing membrane, but it might also be more effective in your situation.
- Professional vs. DIY: Hiring professionals can be more expensive upfront than doing it yourself, but professionals have the expertise to do the job right and can often get it done more quickly.
Average Cost Estimates
While costs can vary widely based on the factors above, here are some rough estimates:
- French Drain: $20 to $30 per linear foot
- Sump Pump: $500 to $1,000 for a basic installation
- Waterproofing Membrane: $3 to $6 per square foot
- Exterior Basement Wall Coating: $2 to $5 per square foot
- Exterior Drain Tile: $10 to $15 per linear foot
Tips for Budgeting
Here are some tips to help you budget for exterior basement waterproofing:
- Get Multiple Quotes: Don’t just go with the first quote you get. Shop around and get quotes from multiple contractors to ensure you’re getting a fair price.
- Consider the Long-Term Savings: While exterior basement waterproofing requires an upfront investment, it can save you money in the long run by preventing costly water damage and increasing your home’s value.
- Plan for Maintenance: Don’t forget to budget for regular maintenance, which is crucial for keeping your waterproofing system working effectively.
While exterior basement waterproofing solutions come with a cost, it’s an investment in your home and your peace of mind. So, don’t let the price tag deter you. With careful planning and budgeting, you can protect your home and enjoy a dry, healthy basement.
Hiring Professionals vs. DIY for Exterior Basement Waterproofing: Making the Right Choice
When it comes to exterior basement waterproofing, one of the biggest decisions you’ll face is hiring professionals or doing it yourself, both options have their merits; the best choice depends on your situation.
When to Hire Professionals
Consider hiring professionals in the following scenarios:
- Complex Projects: If your water problem is severe or your home’s foundation is complex, it might be best to leave the job to the pros. They have the expertise to handle challenging situations and can ensure the job is done right.
- Limited Time: Hiring professionals can be a great option if you’re short on time. They can get the job done quickly and efficiently, saving you the time and hassle of doing it yourself.
- Peace of Mind: Hiring professionals gives you peace of mind by knowing the job is in expert hands. You can rest easy knowing your home is protected.
When DIY is Possible
DIY might be a good option in the following scenarios:
- Simple Projects: If your water problem is minor and your home’s foundation is straightforward, you might be able to handle the job yourself.
- Budget Constraints: If you’re on a tight budget, doing it yourself can save you money. Just be sure you’re comfortable with the work involved and are willing to invest the necessary time and effort.
- DIY Enthusiast: If you enjoy home improvement projects and have some basic handyman skills, tackling exterior basement waterproofing might be a rewarding challenge.
Tips for Choosing a Reliable Professional Service
If you decide to hire professionals, here are some tips to help you choose a reliable service:
- Get Multiple Quotes: Don’t just go with the first quote you get. Shop around and get quotes from multiple contractors to ensure you’re getting a fair price.
- Check References and Reviews: Ask for references and online reviews to understand the contractor’s reputation.
- Verify Licensing and Insurance: Make sure the contractor is licensed and insured to protect yourself in case of any issues.
Whether you hire professionals or do it yourself, the most important thing is to take action to protect your home. With the right approach, you can ensure a dry, healthy basement and enjoy the peace of mind that comes with it.
Maintaining Your Exterior Basement Waterproofing Systems: A Guide to Longevity
Once your exterior basement waterproofing system is in place, the job isn’t over. Regular maintenance is crucial to ensure the system protects your home effectively. Here’s what you need to know.
Regular Checks and Necessary Upkeep
Like a car or a home appliance, your waterproofing system needs regular checks and upkeep. Here’s a simple maintenance routine you can follow:
- Inspect the Waterproofing Membrane: Check the membrane for any signs of damage or wear and tear. It might be time for repairs or replacement if you notice any issues.
- Clean the Drainage System: Whether you have a French drain or exterior drain tiles, ensure they’re free of debris that could cause clogs. A simple flush with a garden hose can often do the trick.
- Check the Sump Pump: If you have a sump pump, test it regularly to ensure it works properly. Also, clean the pump and the pit to prevent clogs.
Troubleshooting Common Issues
Even with regular maintenance, you might encounter some common issues. Here’s how to troubleshoot them:
- Water Still Entering the Basement: If you notice water in your basement despite your waterproofing efforts, it could be due to a problem with the system, such as a damaged membrane or a clogged drain. Inspect the system and make any necessary repairs.
- Sump Pump Not Working: If your sump pump isn’t working, it could be due to a power outage, a clogged pump, or a mechanical failure. Check the power source, clean the pump, and call a professional for necessary repairs.
Maintaining your exterior basement waterproofing system is as important as installing it. With regular checks and necessary upkeep, you can ensure your system protects your home effectively, giving you a dry, healthy basement and peace of mind.
Damp Proofing vs. Waterproofing
Dampproofing is a common practice for basements, costing an average of between $3 to $6 per square foot, including excavation. The cost can range from $5 to $9 per square foot or higher for more comprehensive waterproofing measures or extensive excavation.
Extensive excavation requires contractors to use machinery to move several tons of dirt to expose concrete block foundation walls and seal out groundwater.
Dampproofing is particularly effective in regions with high humidity but low rainfall or water accumulation. It helps prevent soil moisture from seeping in. The soil around the foundation must be removed to apply the dampproofing coating.
On the other hand, waterproofing was designed to prevent moisture from entering cinder blocks and poured foundations. It is most suitable for areas with a high water table as it protects heavier water loads. Waterproofing blocks soil moisture and heavier liquids like rain, floodwater, or runoff.
Understanding the Extra Expenses and Factors
Waterproofing a basement involves certain costs, including professional labor and methods, but there are also unexpected expenses to consider. For example, the type and condition of the basement material can influence the cost. Block wall foundations often need more materials, and foundations in poor condition require immediate attention.
Homeowners should also consider aspects like the age of the house, any necessary basement repairs, and measures to prevent unwanted water from reaching the basement walls in the first place.
All these factors will impact the basement waterproofing cost to some extent. The more factors that need to be addressed, the higher the cost will be. It’s crucial to consider all these elements.
Foundation Material and Condition
Concrete and block walls are robust and long-lasting but not invincible. Concrete blocks, for instance, have large voids that can accumulate water. Therefore, contractors may need to drill weep holes at the bottom for drainage.
If the foundation is in poor condition, waterproofing won’t be effective, and the structure could be unsafe. In such cases, wall repairs are necessary before waterproofing, which will be added to the total cost. However, these repairs are essential for a waterproof foundation.
Age of the Home
The age of the house can influence the available options for basement waterproofing. Houses built before the 1960s may not have footers beneath their foundations, which are concrete walls below the ground with flared “feet” for anchoring and weight distribution.
If the house has footings, a contractor can install a water tunnel on top of them, providing a pathway for water to run off the foundation wall instead of seeping through it.
Mold Remediation
Mold, a common consequence of water in a home, can cause serious health problems. If there’s mold in the basement, it can’t be ignored. Mold removal is another cost to consider. If the mold covers a small area (less than 10 square feet), homeowners can attempt to remove it. Otherwise, professional mold remediation, which costs between $1,125 and $3,345, is required.
Water Table Level
In some cases, fixing a few cracks may require all the waterproofing; however, the International Residential Code mandates waterproofing in areas with high water tables. High water table areas can be expensive as they don’t drain rain or groundwater well, making exterior waterproofing efforts potentially the only solution.
Interior Water Drainage
Sometimes, controlling unwanted water is more effective than waterproofing. In such cases, interior water drainage methods can be used. This often involves digging a small trench or adding drainage pipes to the walls to direct water to a sump pump.
For block foundation walls, interior drainage is a popular choice. If a sump pump isn’t installed, it can cost between $490 and $1,170.
Landscape Grading
The landscaping around a house can contribute to basement flooding. Grading the landscape away helps direct water away from the foundation. This requires specific engineering skills and knowledge of clay soils and aggregates.
Removing standing water in the yard ranges from $1,000 to $3,000; a typical grading job can cost between $1,400 and $5,200.
Gutter and Downspout
Additions Gutters play a crucial role in keeping the basement dry. Without them, rainwater collected on the roof can fall close to the foundation walls, leading to a wet basement. Ensuring the gutters are correctly pitched and free from clogs and debris is essential.
Downspouts should also be positioned to direct rainwater at least 8 feet away from the foundation. The cost of these measures can add up to a few hundred dollars. The average range for gutter installation is $600 to $1,550.
Excavation
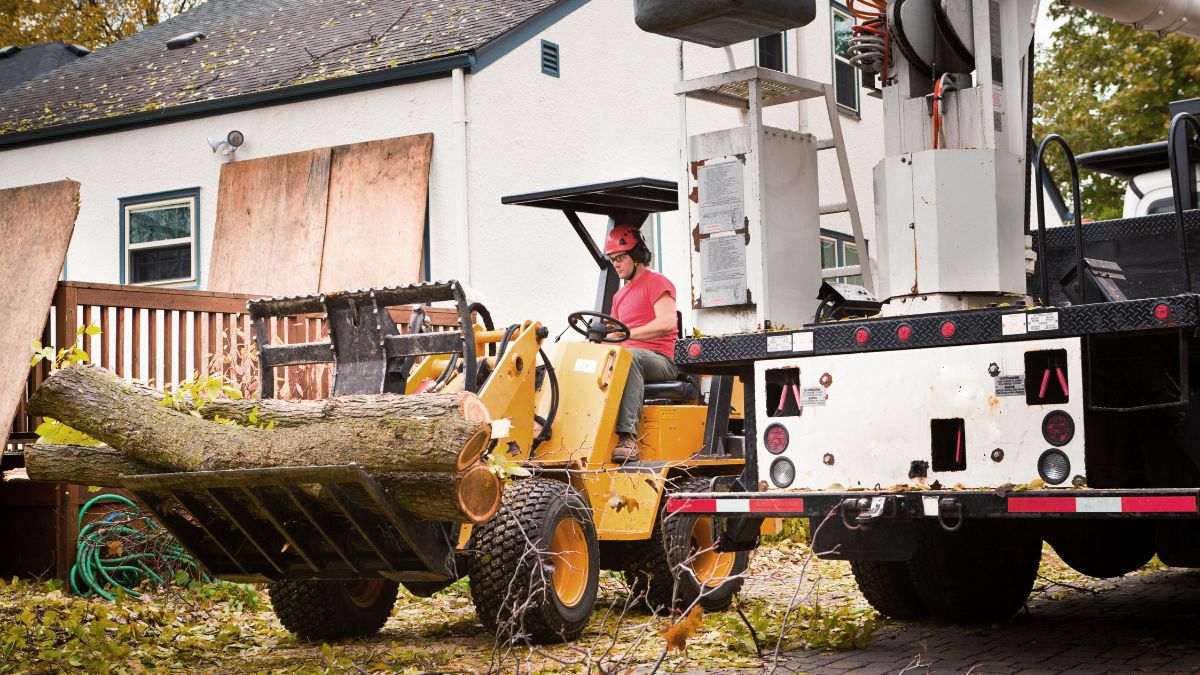
Many of the above solutions require excavation contractors, usually taking 2 to 3 days to excavate the foundation safely. These tasks require specific knowledge and heavy equipment, whether exterior waterproofing, installing a water channel, or grading the landscape.
Even if homeowners rent the equipment and do the work themselves, it’s an expense to consider, ranging from $75 to $350 per day. Professional excavation costs between $50 and $200 per cubic dirt yard.
FAQs About Exterior Basement Waterproofing
How long does exterior basement waterproofing last?
With proper installation and regular maintenance, exterior basement waterproofing systems can last up to 20 or more years, while a French drain can last up to 30 years. However, the lifespan varies based on the quality of the materials, the severity of your water problem, and the local climate.
Can I waterproof my basement from the inside?
Yes, interior basement waterproofing typically involves applying a waterproof coating to the interior walls of your basement and installing a sump pump to remove any water that does make it in. Interior waterproofing is generally considered a secondary line of defense, while exterior waterproofing tackles the problem at the source.
Is exterior basement waterproofing worth the cost?
While exterior basement waterproofing requires an upfront investment, it’s often worth the cost when considering the benefits. It can prevent costly water damage, increase property value, and give you peace of mind. Plus, it can save you money in the long run by preventing the need for more extensive repairs.
Can I do exterior basement waterproofing myself?
DIY exterior basement waterproofing is possible, especially for minor water buildup problems or straightforward projects. However, it’s often best to hire professionals for more complex situations or if you’re uncomfortable doing the work yourself.
How do I choose a professional for exterior basement waterproofing?
When choosing a professional, get multiple quotes to ensure you’re getting a fair price. Check references and online reviews to assess the contractor’s reputation. And make sure the contractor is licensed and insured to protect yourself in case of any issues.
Is it possible for me to seal the interior of my basement?
Yes, as a homeowner, you certainly can seal the interior of your basement. The most effective way to do this is by using a sealer or a specific type of paint with an acrylic or epoxy base. Additionally, it’s recommended to use a concrete crack filler to address any cracks or gaps in the basement floor or walls.


