Flickering house lights can be very annoying. Most times, their flickering is harmless, but sometimes it can be an electrical problem. In addition, flickering lights can be a fire hazard, which is why it’s imperative to know how to fix flickering house lights.
Lights often flicker because a lightbulb is loose, about to fail, or is incompatible with the light dimmer. However, in rare cases the problem can come from your electrical company. Flickering house lights in your house can be caused by several conditions:
- Loose lightbulbs that are not making a good connection in the light fixture.
- The light fixture could be worn out or have a loose wire connection.
- The light switch could be worn out or have a loose wire connection.
- The dimmer switch could be worn out, have a loose connection, or may not be compatible with the new LED lightbulbs.
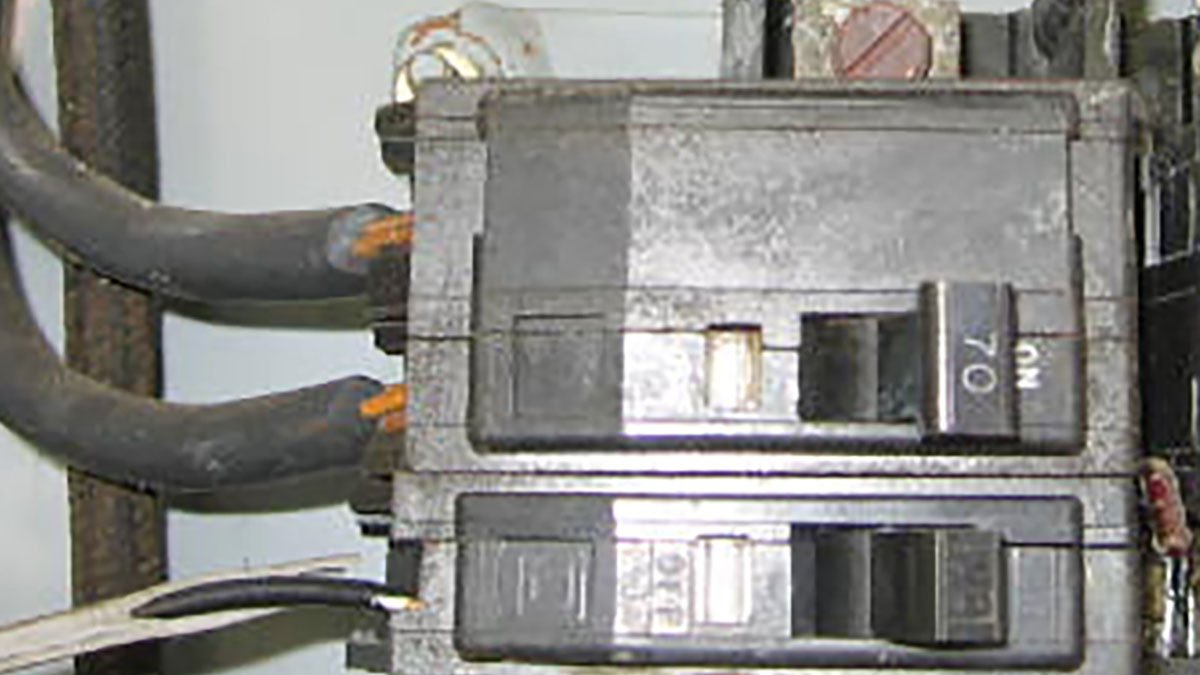
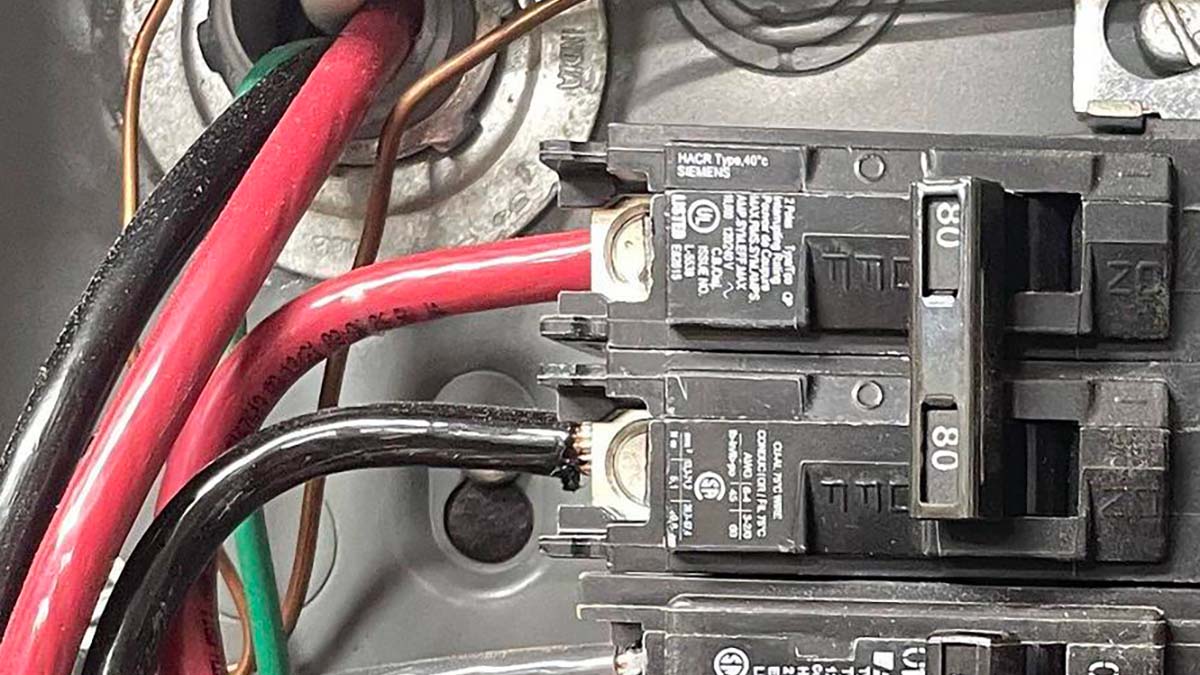
- The circuit breaker could be worn out or have a loose wire connection.
- There may be a loose wire connection inside a wall, attic, or crawl space.
- The wiring inside attics or crawl spaces may be damaged from rodents.
- The incoming main service wire connections may be loose on the electric company side.
The main reason I wanted to write this article is because I recently experienced this issue and I had to have an electrician replace several breakers and my main disconnect only to finally discover that the electric company had a loose neutral wire connection at the transformer.
My lights would flicker at random times for no rhyme or reason. It eventually escalated to where I would lose power in half my house. Being a home inspector, I knew the problem was a loose connection. The problem was finding it as it was occurring.
Changing light bulbs can be a simple DIY solution, but beyond that, you’ll likely need an electrician to troubleshoot for solutions. Everything I tested was with the assistance of an electrician.
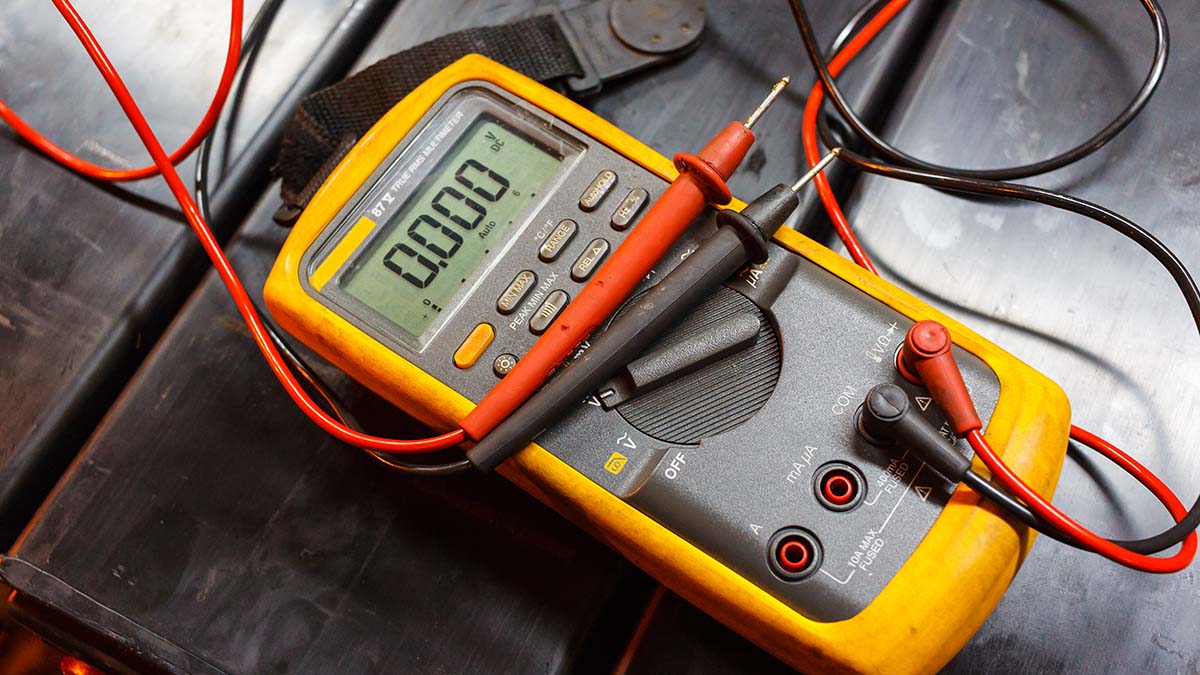
The most important thing to remember when fixing your flickering lights is to keep the power off at all times. You can do this by turning off the light switch, but it is better to turn the power off in your whole house. Make sure you use a non-contact circuit tester to confirm there is no power. Fixing your lights while the power is on could be deadly.
That’s not all there is to know about flickering house lights. So let’s explore what causes them, and I’ll also provide a detailed guide on fixing flickering house lights.
Working with electricity is hazardous or can be deadly in some cases. Do not attempt to work on electrical components without direct supervision of an electrician. Consult a licensed electrician before conducting any electrical work.
What Causes Lights to Flicker in a House?
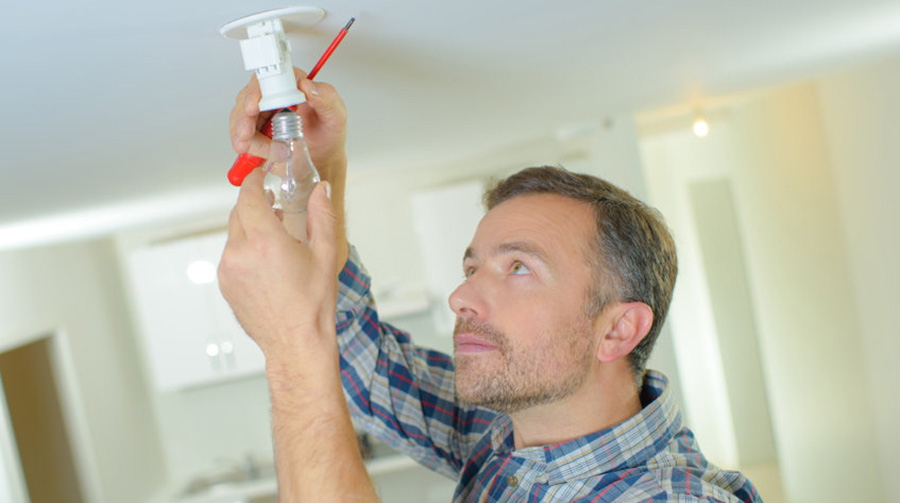
A loose lightbulb is the most common reason why lights flicker in a house. However, it’s nothing to worry about as it can easily be fixed by tightening the light bulb. Of course, you have to ensure that the power is off while doing so.
When you use incompatible light bulbs with light dimmers, it can also cause the light to flicker when they’re set on low. But, as annoying as it can be, it won’t cause any major problems.
There are many reasons why lights in the house flicker, and most of them can easily be fixed and won’t pose much harm like the ones I mentioned above.
So when does the flickering of lights become dangerous?
Is It Dangerous For Lights to Flicker?
The most dangerous reason why your lights might be flickering is that there is a loose connection in the house somewhere between where the electrical service enters the house and the light.
Sometimes, light can dim or flicker when an appliance starts to run because the appliance draws a large and varying current, which is common when electric heating and cooling systems initially start up.
How likely your lights are to flicker depends on lightbulb type too. For example, fluorescent lights are more prone to flickering than other types of bulbs. Flickering of the fluorescent light is caused by low or high temperatures, aging bulbs or tubes, and normal warm-up cycles.
Usually, you can diagnose the cause of flickering by looking at the flickering pattern. For example, if only one light is flickering, you probably have a bad bulb, or the bulb is loose in its socket.
Can Flickering Lights Be Caused By a Bad Breaker?
If the lights are flickering over most of your house, it’s most likely a loose wire connection or a bad circuit breaker.
It could be a sign that there’s a bigger problem with your electrical service, such as loose service conductors in your central electrical panel or even a transformer away from your house (this was my problem). Loose connections can be very dangerous and a fire hazard.
If your neighbors are also experiencing flickering of the lights, the problem is probably coming from the electrical company, not from an issue with any individual home’s electrical service.
When LED lights flicker, it is usually a different problem that doesn’t have anything to do with your electrical system. Instead, it has something to do with your dimmer switch on your lamps or lighting fixtures.
A dimmer switch powers the electricity on and off several times per second. Traditional lightbulbs have a hot piece of metal that powers the light, and the metal cools down slowly as it shuts off and on, which creates the dimming effect.
LED bulbs don’t work that way, and they don’t have heated filaments, so when you use a dimmer switch, the LED bulb goes on and off as the power supply does, which causes it to flicker.
How to Fix Flickering House Lights
Simple solutions
Before attempting to do any complicated fixes, start with simple ones:
- Try to tighten loose lightbulbs. Make sure you turn off the power and use a glove to protect your hand from heat, and screw the bulb in tighter.
- If the problem isn’t the lightbulb, try upgrading your old or incompatible switches. Old dimmer switches don’t work with LED lightbulbs, which can cause them to flicker. Light switches are wear out with repeated use and should be replaced as needed.
Install a new light fixture
A lot of problems can be caused by old or damaged fixtures. Here is how you install a new light fixture:
1. Locate your circuit breaker box and turn off the breaker that controls the power to the room where you’ll be working. If you’re not sure which individual breaker controls the room, you can turn off the main breaker.
To turn off the main breaker, switch its toggle to the off position. This way, you will turn off all the power in your house.
To turn off the circuit breaker, find the correct breaker for the circuit using the directory, which is often stuck to the back of the service panel door. When you find the circuit breaker, flip the beaker’s toggle switch to the off position.
2. Remove the fixture’s cover to reveal the mounting screws holding the fixture to the ceiling box. Loosen those screws to separate the fixture from the ceiling box and expose the wiring connections.
3. Use a non-contact voltage tester to test for voltage in the circuit wiring. Once you’re sure that the power is off, disconnect the light fixture wires from the circuit wires. You can usually do this just by unscrewing wire nut connectors.
4. Connect the neutral lead on the new fixture to the neutral circuit wire using a wire connector. Neutral wires are usually white. It is beneficial to have a helper during this step because you have to hold the fixture with one hand while attaching the wire connections with the other.
5. Connect the hot fixture lead to the hot circuit wire using a wire connector. Then, connect the grounding lead on the new fixture to the circuit grounding system.
The ground lead could be a green insulated wire or bare copper wire, and the circuit grounding wire is most likely bare copper. This step depends on how your last fixture was connected, so you might have to connect the fixture lead directly to a circuit grounding wire or attach it to the green grounding screw on a metal ceiling box, or both.
6. Secure the fixture base to the ceiling box, fold the wires into the electrical box, and push the fixture toward the ceiling. You should thread the mounting screws through the base plate of the fixture and screw them into the corresponding holes in the ceiling box mounting strap. Make sure you tighten the screws securely.
7. Install the light bulbs. Ensure that the bulbs you’ve chosen don’t exceed the overall wattage rating of the light fixture. Attach the fixture’s globe.
8. Lastly, turn the breaker on to bring back power to the light fixture and test to make sure it is operating correctly.
Check the wiring in the electrical panel
Another thing you can do to fix your flickering lights is to check the wiring in the fuse box.
Start by finding your breaker box. If you’ve noticed that the lights are flickering in more than one room, then the problem is probably in your home’s wiring. Loose wire connections are caused by one or more connections in your circuit breaker box loosening over time, which causes an incomplete connection.
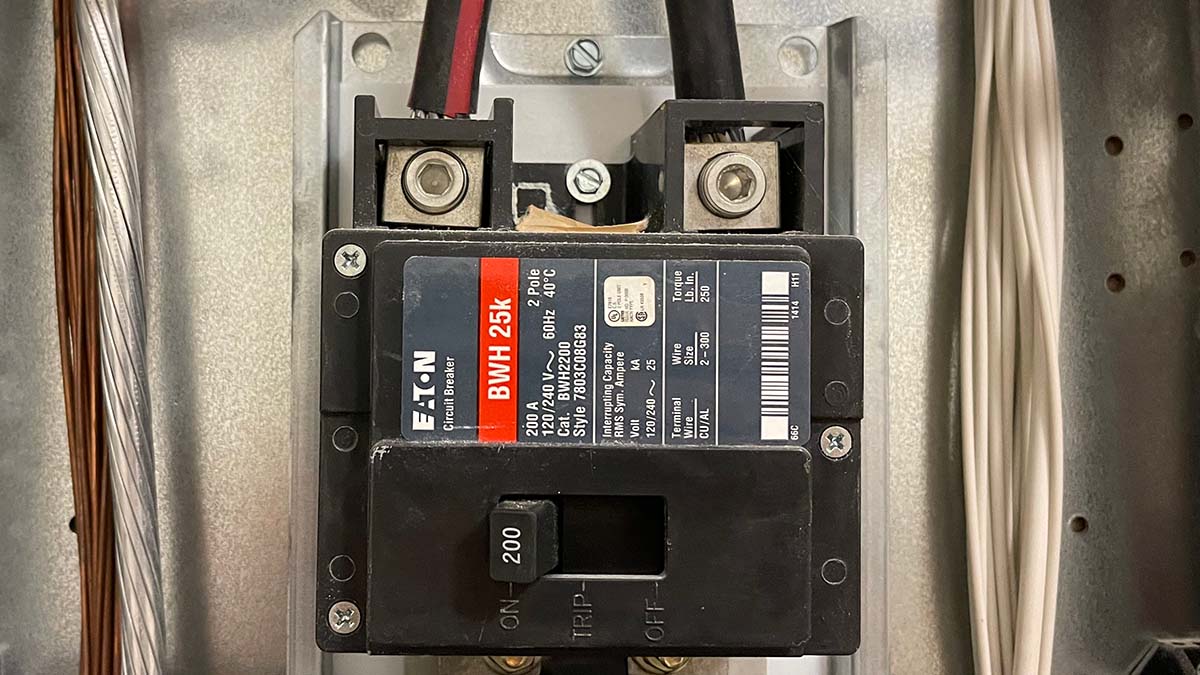
Once you’ve found your breaker box, switch off the main breaker in your fuse box so you don’t get electrocuted. You should never work on your fuse box when the power is connected. The main breaker is a 60amp to 200amp breaker switch , usually located in the middle or on the top of the breaker panel. Some older homes may not have a main discoonect breaker which is a sign that you should upgrade your electrical panel. Switch the main disconnect off position.
Turning off the main breaker will cut the power in your whole house, so make sure you have a
Next, remove the metal housing around the breaker panel that covers the panel’s internal wiring. Carefully lift the housing off once you’ve removed all the screws.
You should use a flathead screwdriver with a rubber handle for this step and keep track of all screws so you can put them back once you’re done.
Then, tighten all the screws that connect wires to the circuit breakers. If you closely look at the ends of the circuit breakers, you’ll notice that each one has a wire running into it. Close to where the wire enters the breaker is a screw that holds the wire in place.
Lights will flicker if this screw is loose. Tighten every screw, working your way down the breaker panel. You should use a flathead screwdriver and turn the screws clockwise.
If the screws don’t tighten easily, it means that they are already tight enough, so don’t force them.
When you’re done tightening all screws, pick up the breaker panel and hold it up to the fuse box. Make sure you line up the crew holes in the panel with the ones on the box. Then, holding the panel against a wall, insert each screw and tighten it.
What to do if the problem still exists
If the problem still exists, you’ll need an electrician to further troubleshoot the wiring for loose connections. Other issues that can exist include:
- Electrical shorts caused by wiring that has been chewed on by rodents. This is very dangerous and a fire hazard.
- Loose wire connections may exist inside walls, attics, or crawl spaces.
- Have your electric company troubleshoot the wiring from the transformer to the meter base.


