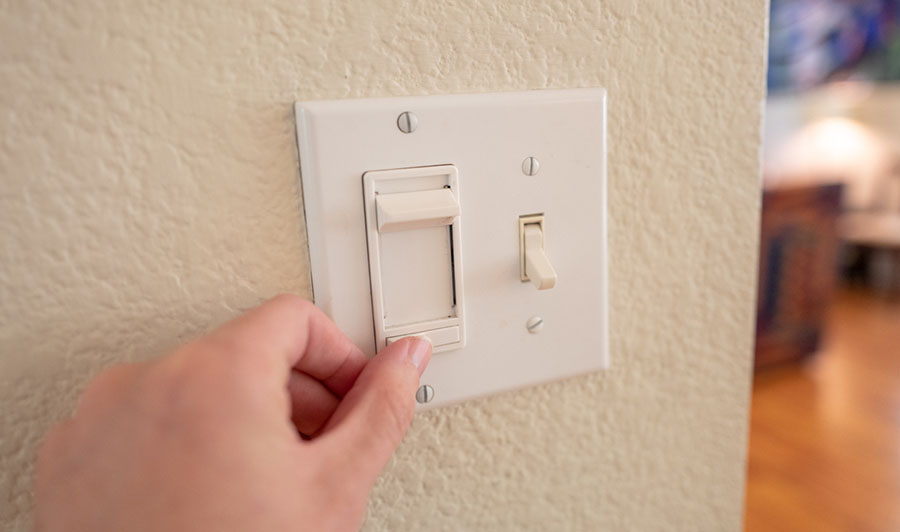
Lighting is an essential part of a home’s setup and décor. And getting a dimmer in your home makes it even classier. Lighting allows you to appreciate the visuals of a room and add to the comfort and style. There are just times when turning the light down becomes an option. If you’re looking for a DIY dimmer guide, I made exactly just that.
Installing, replacing, and wiring a light dimmer in your home is a straightforward process that you can do yourself in very little time. Before beginning, make sure to turn off the electricity. Then, disconnect the switch you want to replace with a dimmer, install the dimmer, and fix the wall plate.
A dimmer can help you transform a brightly lit room and make it habitable for a particular moment. Homeowners have been using dimmers to reduce the brightness of bulbs, chandeliers, and other light sources in a house. In addition to making the room more appealing, the dimmers also help you save on energy in the process. You can install dimmers by yourself, no need to call for professional help.
When you dim the lights down, one of the things that change is coziness. It makes a room look more exciting and relaxing to reside in. It can come in handy whenever you want to reduce the glare in your room after getting out of bed.
But that’s not all there is to know about dimmers. Learn how to install, replace, and wire a dimmer switch. This detailed DIY guide will walk you through the process step-by-step.
The Dimmer Installation Process
Let’s take a quick look at how you can go about installing a light dimmer in your home:
1. Switch Power Off
It is essential first to ensure that the power is off before fixing a dimmer switch. Once you have done that, take your screwdriver and use it to unscrew the wall plate.
Most are the times when you find these boxes as part of the wall box.
2. Disconnect Old Dimmer or Switch
After that, push the old dimmer switch gently away from your wall, ensuring that you don’t tamper with the wiring. If you come across many white wires, you can leave them in place. They will cause no harm.
For a three-way switch, you will notice that you will connect one of the single wires to a different colored screw, often with the label “common.” Even if it does not have a label, the manufacturer will ensure it is different from the others. Additionally, note that this ‘common’ wire is not the same as the one connected to the green free (the green one is the live wire). To make it easier to identify, you can mark this common wire using electrical tape.
Then proceed to disconnect the old dimmer switch completely. Ensure that you have disconnected all its wires, screws, and wire nuts.
3. Connect New Dimmer
The next stage includes a series of steps to follow.
For a Single-Pole Dimmer:
- First, cut off the ends of the wires that appear to be in a twist or bend. Additionally, eliminate a part of the casing of the wire in the ends for better connection.
- Start with the ground wire of your dimmer and connect it to a copper wire in the box. Once you link it, you can further twist the wires at the connection point for a better consolidation.
- Go ahead and connect the dimmer’s wires to our house wires. The best way to ensure a strong connection is by joining the wires using pliers. Grip the wires at their ends and twist your pliers.
- Most dimmers have typical black cables. For the house wires, some might be dark, while others have shades of red and white. Ensure that you have connected every end of the cables perfectly to the house wires. Ensure that no wire is left bare or unconnected. If you do, it may be a recipe for disaster.
For a Three-Way Dimmer:
- Straighten all the bent wires before you start connecting. Also, remove a part of the casing to expose a larger surface area of the connecting wire.
- After revealing all the cables, connect your trimmer’s black wire to one of the wires in your toolbox. Use a wire connector nut or twist the wires together to form a perfect and stable ‘knot.’
- Take the black dimmer wire and connect it to the common wire. If you had initially marked your common wire with electrical tape, you could proceed to remove the tag.
- You can now connect the remaining wires to the wires in the wall box.
- After making all the connections, it is now time to install your dimmer in the wall. Use the screws provided during your purchase to do so.
4. Fix Wall Plate
Once you have finished mounting your dimmer, you will now be required to replace your wall plate. Like the other processes, this is a straightforward task not requiring any special skills to maneuver through.
First, tuck all your wires into the outlet box carefully. Do not use a lot of force or be vigorous when tucking them in. This is to ensure that they do not disconnect during or after you have finished tucking these wires.
After tucking the wires in, fasten the screws, ensuring that every wire holds firmly in the electrical box. Some dimmers have removable knobs, and so if yours has one, you can remove the knob before attaching the wall plate.
Other dimmers will have their wall plates. And so, in this case, ensure that you have tightened the mounting screws to hold the plate firmly.
If you follow these procedures keenly and do not make any mistakes, your dimmer will now be ready to be put to the test.
To test, review your work, and ensure everything is in place before turning the lights back on. From here, you can now test your dimmers to ensure that they are functioning correctly.
Can You Install a Light Dimmer By Yourself?

You can install a dimmer for your light bulbs and chandelier all by yourself. The task will, however, be easier if you are familiar with electrical systems. Nonetheless, even though you can do so, you can opt to hire a licensed electrician. And this is the best option if you do not feel comfortable doing it.
If you are looking forward to taking care of your dimmer as soon as possible, though, you might want to tackle the installation by yourself. Below are some of the fundamental issues you should consider before starting the installation.
Ensure that Electricity Is Off
As basic and straightforward as it sounds, you would be surprised to hear the number of people who make this mistake. It is essential for you always to remember that electricity is dangerous. So, you should always ensure that you turn it off before handling any electrical work.
It is also important to note that you do not have to turn off the entire electrical system in your house. Turn off the power supply to the switch you are about to work on. This will significantly reduce the chances of any electrical accident from happening. Once you have turned off your power, it is safe for you to take off the switch’s cover plate by unscrewing it.
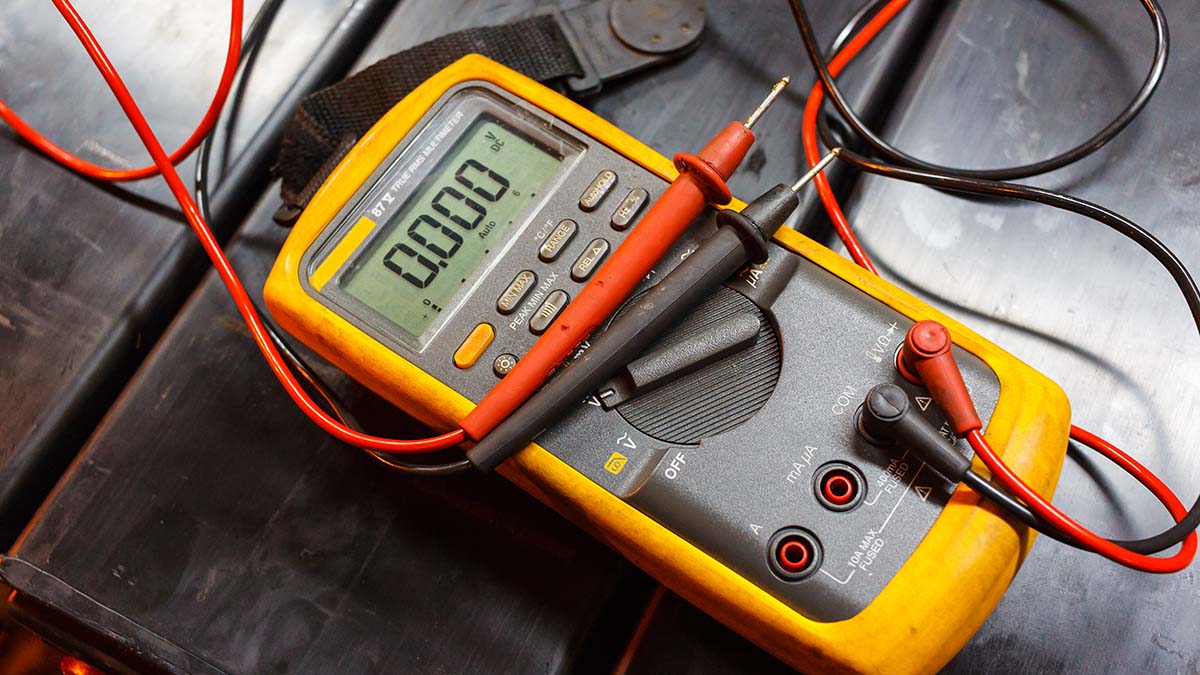
To be on the safe side, I use a tester or a voltage detector to test the wires inside the switch whenever I’m working with something electrical. This is to confirm that no power is running in them whenever I need it. You never know!
Installing a Dimmer Is Not Challenging
The process of dimmer installation is not a complex task, especially if you are replacing a single-pole dimmer switch. It will even be easier if you are only changing the dimmer.
You need to purchase a new switch that disconnects the connecting wires from your old controller for replacements. Then proceed to connect the new dimmer’s controller.
However, some homes can make it difficult for you to install dimmers. I once inspected a house built before the early 90s, and I needed to tell the homeowner that the facilities and electrical systems would not work to their advantage if they wanted to install a dimmer.
You might find that your switch box doesn’t have the right size to fit an additional gadget in it. So, if this is the case, you do not have to struggle to work with the insufficient space switch. Visit a home development store and purchase a larger box.
After these two considerations, you will be ready to tackle any DIY dimmer switch installation. Some of the essential tools you will use in the job include a pair of pliers, a voltage tester, wire strippers, needle-nose pliers, and a slotted screwdriver.
How Do I Make My Lights Dimmable?
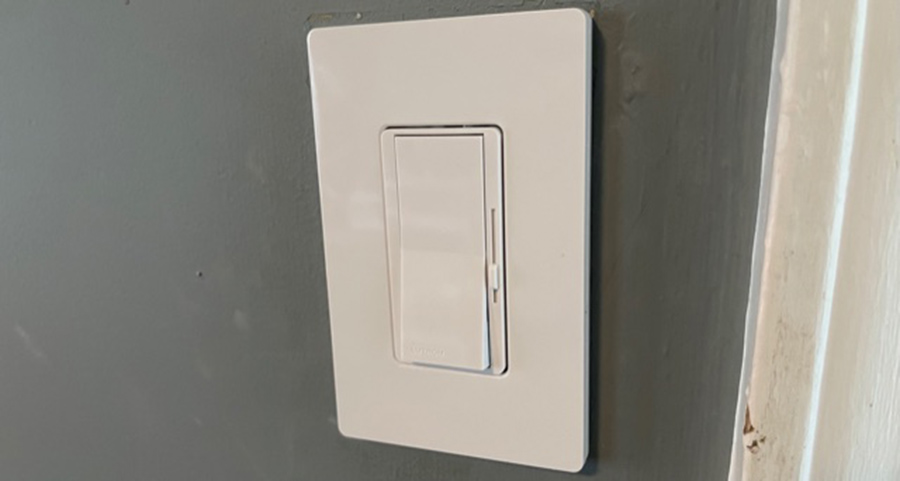
Make your lights dimmable by simply installing a dimmer. Most of the light bulbs that we use today can work perfectly with standard dimmers.
This includes the ones with incandescent and halogen lamps.
The only thing you have to do is determine whether your light bulb or light fixture utilizes low or high voltage. Whatever the case, there is always a dimmer switch that can get the job done for you perfectly.
Let’s say you have line voltage rail lights and incandescent bulbs. You will need a line voltage dimmer for it to work perfectly. This is because the line voltage switches won’t be able to handle fixtures with low voltage requirements.
Moreover, you can dim all lighting fixtures that have standard voltages. Therefore, set your living room or dining room mood using these dimmers by installing them in your chandeliers.
Additionally, these dimmers can come in handy for you if you want a set place to study, relax, or even dress.
How to Select the Best Dimmer for Your Home
Before you get down to business, the first step of installing a dimmer is to choose the best one that suits your requirements. Look for a dimmer that will produce just the right amount of light that you need. They come in different types and colors.
The following are some of the things to consider before choosing a dimmer:
Bulb Rating
The power rate of every dimmer is specific to a particular type of light bulb. When you use a dimmer that doesn’t match our bulb, you might end up having lights that flicker. Or worse still, the dimmer fails to work at all.
For example, if you want a dimmer for an LED light bulb, you should ensure that you get an LED dimmer to match. Even though CFL switches can work in an LED bulb, it is not advisable to use them.
Number of Switches
Also, consider the number of switches that you want to input in the house. Dimmers have two basic wiring configurations: three-way dimmers and single-pole dimmers.
For the single-pole dimmers, you can control the lighting from one switch. On the other hand, with the three-way dimmers, you can control it using two switches. This means that the dimmer you buy will depend on the number of switches you want to manage the light bulb.
Number of Bulbs for the Dimmer
How many lights do you want to connect to your dimmer? Regardless of the number, you should add their wattage up and compare the value with the ratings of the dimmer. This will ensure that you get the right one to manage all your wattage requirements.
How Will I Control My Dimmable Lights?
Set up a dimmer switch to control your dimmer lights. There are different ways in which you can set up your dimmer switch. For example, you can dim all your lights with a single button. Others will enable you to have more control points to dim the light from a single point and control the power coming from different points.
Some dimmers have knobs, while others have sliding switches. You use these details to regulate and control the intensity of light the bulbs produce.
You can also install multiple dimmer switches in your home to allow for brightness control in different locations. Some people also fancy turning on their step lights from different points. This can be upstairs or downstairs. In such a scenario, you need to put up regular switches from these points. If you still want to dim the lights from each point, the best thing to do is to look for dimmers that allow for a multi-locational setup.
Some dimmers have specialized features that allow for additional functions. These include the modernized ones with a tap screen from where you can control all the brightness. With modernizing programs and advanced technology, using these dimmers is easy.
All you have to do is select the brightness level you want, and boom, everything switches to your preferences. Don’t be surprised when the dimmers have a remote instead of the typical knobs and sliding switches.
As easy as all these sounds, you might still find it hard to install and control your dimmer. If this happens to you, there is no harm in requesting help. Many licensed and experienced electricians will get the job done for you within minutes. All you have to do is look for the one that suits your needs and budget.
Can Any Light Be Dimmable?
Not all lights can be dimmed or regulated by a dimmer. Therefore, if you want to install a dimmer in your home, ensure that you first check your light bulb and confirm it is dimmable. Any bulb that you cannot dim won’t light on a dimmable circuit.
This is a crucial step to consider even before starting the installation. You do not want a situation where you have gone through all the processes and installation stages to find out later that your bulb isn’t dimmable.
Why Are My Dimmable Lights Not Dimming?
Several reasons can make your dimmable light fail to dim. Some of them include:
1. Over-lamping
Over-lamping is the leading cause of lights failing to dim. Manufacturers design every dimmer to handle a specific maximum load of electricity, primarily measured in watts.
Therefore, if your lights fail to dim, ensure that the total wattage of the bulbs connected to features does not exceed the maximum capacity that the dimmer can handle.
2. Power Surge
A dimmer is an electronic device, and power surges can affect its wiring. This means that these surges might cause some damage to your dimmer. As a result, they do not work as they should.
3. Disconnections
This is another common reason why your dimmer might not be dimming the lights. The wire connections between the dimmer’s wires and your home wires might be the issue.
4. Using the Wrong Bulbs
This goes without saying. If you use a bulb that is not dimmable, it will not work.
Conclusion
Dimmers are beneficial gadgets that can change the appearance and feel of your home. In addition to reducing power consumption, they can help create ambiance by adjusting the level and intensity of light.
If you do not have a dimmer in your home, it is high time that you install them in your home. Follow the DIY dimmer guide to help you install dimmers in your home.


