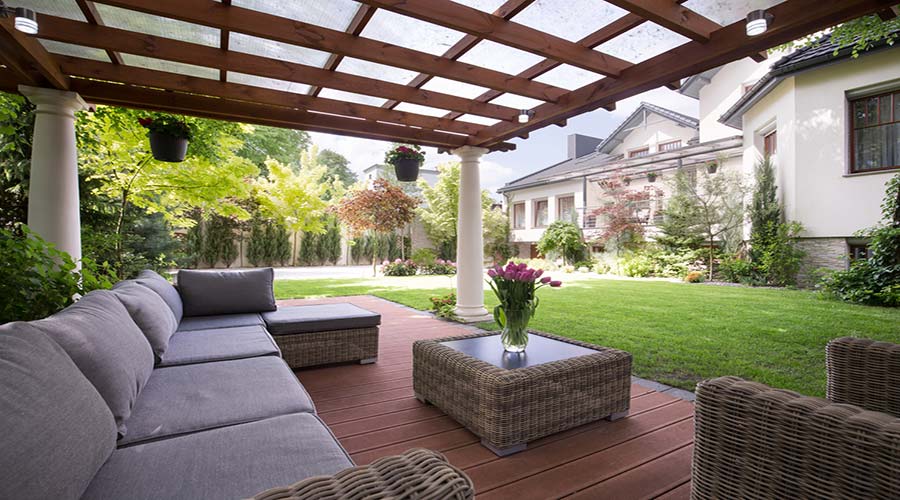
Traditionally, decks were without a roof. Now, I am seeing more homes that are investing in quality roofs for their outdoor spaces. Roofed decks make one feel good about spending time in their personal space and add aesthetic value to a home. But for any home renovation, you should always consider the budget. So how much does it cost to build a roof over a deck?
Generally, a roof over a deck will cost $1250-$1350 if you do it yourself, or between $4000-$8000 if you hire professionals to build it. A professionally built roof over a deck can cost $30 to $75 per square foot. Depending on the design, materials, and labor needed, the price will fluctuate.
Now, installing a roof over the deck is becoming a modern home preference. We have put together a detailed article on all costs of building a roof over a deck.
How Much Does It Cost To Build a Roof Over a Deck
The most important materials you will need in building a roof over a deck are beams and rafters. The cost of beams and rafters depends on the type of material you choose from and the number of running feet you will need for the job.
Without a doubt, timber is a timeless material that looks stunning in any backyard. Timber or wood is measured in square feet. Redwood is more expensive as compared to cedar, with a difference of $3.
Other materials to choose from are aluminum, teak, pine, and fiberglass. Metal is generally cheaper than timber, so it can be a good alternative if you watch your dollars. While metal is not as popular as timber, it does have its advantages.
A simple DIY project will cost you around $1250-$1350, including beams, rafters, and fasteners. A well-built roof structure will cost you much more, considering labor, design, and finishing costs. On a high, the total cost could be $10,000 or more.
Here is a list of material versus the much it costs per square feet:
| Material | Cost Per Square Foot |
|---|---|
| Aluminum | $9.50-$32 |
| Pine | $20-$30 |
| Teak | $50-$80 |
| Fiberglass | $58-$75 |
| Cedar | $3-$5 |
| Redwood | $6-$8 |
Does a Covered Patio Increase Home Value?
I have inspected hundreds of homes with covered patios, and most of them have higher home values than those that do not have covered patios.
Adding a shade over a patio is a classy part of a home’s improvements. Everyone would love to have a classy party in their home to sit and relax, whether by themselves or with guests.
Home improvements and valuable structural additions make a home stand out from ordinary homes. When you have a roof over a deck, it means that you will spend more time outdoors without having to seek shelter elsewhere from the scorching sun or the rain.
Does a covered patio add market value to a home? Yes, it does, and there are two ways it adds value to your property:
- Aesthetic value
- Financial value
Aesthetic Value
Most people are increasingly finding outdoor spaces a necessity, especially in warmer climatic conditions where people want to enjoy an outdoor experience at the comfort of their own private homes.
Since it is becoming increasingly popular, home buyers are more likely to buy a home with an already installed quality roof over the deck.
Financial Value
The reality is, the more money you spend on home upgrades, be it kitchen or bathroom upgrades, these upgrades will make your property fetch more money.
Upgrades make a home appear classier and add comfort and style into an otherwise ordinary or boring home.
They say money begets money, and investing in a quality roof for your patio area will fetch your home more money on a sale.
Options for Putting a Roof Over a Deck
A deck roof can take different shapes and styles, but it will be best if you choose a style that compliments and blends with the design of your home as well as its surroundings.
A roof over a deck is usually called a patio cover. Your options include:
- Shed Roof: Sometimes referred to as a lean-to roof, is a roof that attaches to the house where the rafters lean against a wall. This roof design has only one slope.
- Gable Roof: Gable roofs have two sloped sides and are more complex to build. Gable roofs will need to be tied into the existing roof or wall structure. This roof design is not recommended for DIY unless you have carpentry skills.
- Pergola: Pergola is a structure that is often not attached to the house (but can be). Pergolas use an overhead open-frame concept that provides shade but doesn’t provide protection from the rain. A typical pergola is raised using posts and laced with wooden beams and rafters that interchangeably run across it. Often, vine trees are planted and allowed to climb up the wooden structure to form a canopy.
Choose Wood Suitable for Your Project
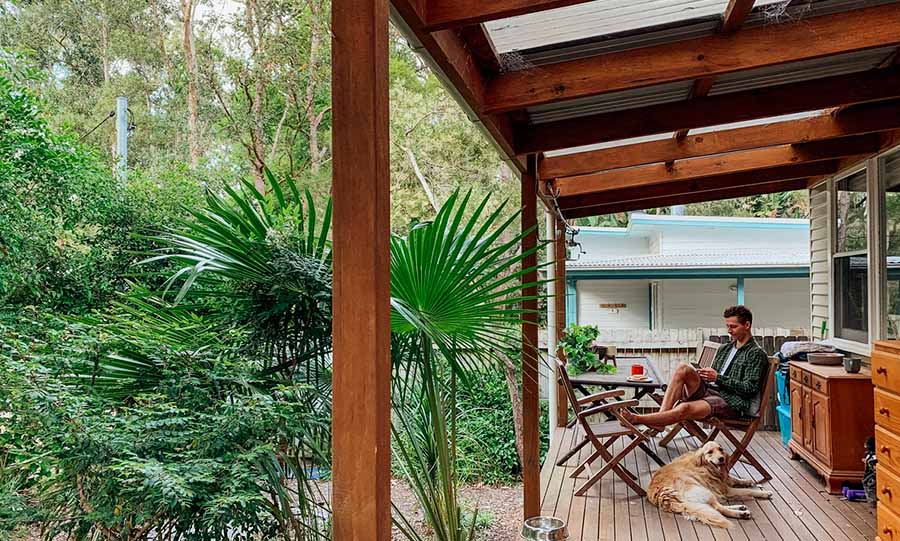
You can build a roof over an existing deck. Today, most homes have their decks covered with a roof during their construction, while older homes install them to add to an already existing deck.
Common Types of Wood Used to Build a Roof Over a Deck
It involves beams and rafters, and because the deck is an exposed place, it is wise to invest in building materials to withstand different harsh weather conditions. The sizes of the beams and rafters to use are 6×6, 6×2, 8×2, 10×2.
Here are some wood beams and rafters materials to choose from:
Cedar Wood
Cedar is a popular choice because it is resistant to rot and insects. It is also readily available and not heavy. It is the best material for an already existing deck as it will not exert too much pressure on the existing wooden board.
But the trick to brighten its surface is to apply a sanding sealer and clear varnish after it has been installed. The price of cedar is $3-$5 per square foot.
Redwood
Compared to cedar, redwood is a better material but costs more. They cost between $6-$8 per square feet depending on the region and availability.
But redwood is hard to find in the eastern states compared to its availability in the western states.
Hardwood
Indigenous eucalyptus is among the hardwoods found in tropical areas. Mature trees with more than twenty years to their belt can last fifty years and beyond when treated with oil-based products.
Pine
Pine is the most common building material because the wood is inexpensive, light, and straight. However, pine is a softer wood and is not resistant to insects. Therefore, it’s best not to leave pine exposed without painting is to seal it from moisture.
Pine framed structures are generally enclosed where the framing is not exposed. If you intend to leave the wood exposed, choose pressure-treated lumber that can withstand the outside elements. Pressure-treated wood has a green tint that will fade as the wood dries out.
Factor Your Budget Into Your Decision
The budget you have will determine the material you go for and the design. It, of course, is keeping in mind that the deck is already suspended from the ground.
If you have a lean budget, you might consider working on it by yourself to cut on labor charges, saving money for more material if need be.
How to Build a Roof Over a Deck
Roofing a deck provides a lot of benefits. One is that you can better enjoy sitting outside any time of the day regardless if there’s too much sun or the weather is gloomy.
Building a roof over your outdoor sitting area is not only intended to add to your comfort. Good deck roofing will not only cater to your comfort but also add beauty to your surroundings, which will, in turn, increase the home’s market value.
Although it’s best to get a seasoned craftsman for this project, you can still manage to build one on your own by following these steps:
1. Gather All the Necessary Materials and Tools
Some of the tools you will need for roofing your deck are:
- Nails, 3”, 4”, 5” and above, depending on the size of the beams you bought.
- Hammer
- Ladder
- Hurricane hangers
Installing a roof over an existing deck is preferably a lean on the roof, extending from the roof’s fascia to the deck railing. Here are the steps to make that happen:
2. Install a Rafter
The original deck has several spaced beams, probably 6×6, that stem from the ground to keep the deck strong and to support the deck’s handrail.
Now, on the surface of the handrail and top of the original beams, install an 8×2 rafter to lie flat on the handrail and cover every part of the original 6×6 beams. The rafter should run the complete length to maintain uniformity.
Use long nails that will go through the rafter and penetrate through the beam.
3. Stabilize the Roof Incline
Measure out the height of the roof. Make sure it settles on a stable and safe slanting angle from which the deck’s roof will incline from the main roof and sit on the edge of the deck.
4. Install Identical Vertical Beams
Once you’ve decided on a roof inclination, install identical 6×6 beams the same number as the original 6×6 extending from the ground.
But before installing them vertically to act as an extension of the original 6×6 beams, first, intersect the uppermost parts of each rafter to have a 90 degree 8×2 on both ends where rafters that will form the roof’s structure will lie on top.
5. Install the Intersected Beams
On top of the 8×2 rafter and aligned above each of the original beams, install the intersected beams of equivalent size in a calculated straight line one after the other in a pecking order. If they are 6×6, then install 6×6 beams in a standing position.
All new beams must be of exact height so that the lowest part of the roof will have an even surface to sit on.
6. Install Rafters In the Intersections of the Beams
When the new beams are all in place, take two 8×2 rafters long enough to run the complete length of the new standing beams, which will also run the complete length of the roof of the deck.
Install the two 8×2 rafters to fit the intersection on each of the beams. One will be on the outside of the beams, and the other will be on the inside.
The two beams are meant to make the structure of the deck’s roof strong enough to withstand any strong winds and support the roof’s weight.
7. Attach Rafters to the Fascia of the Main Roof
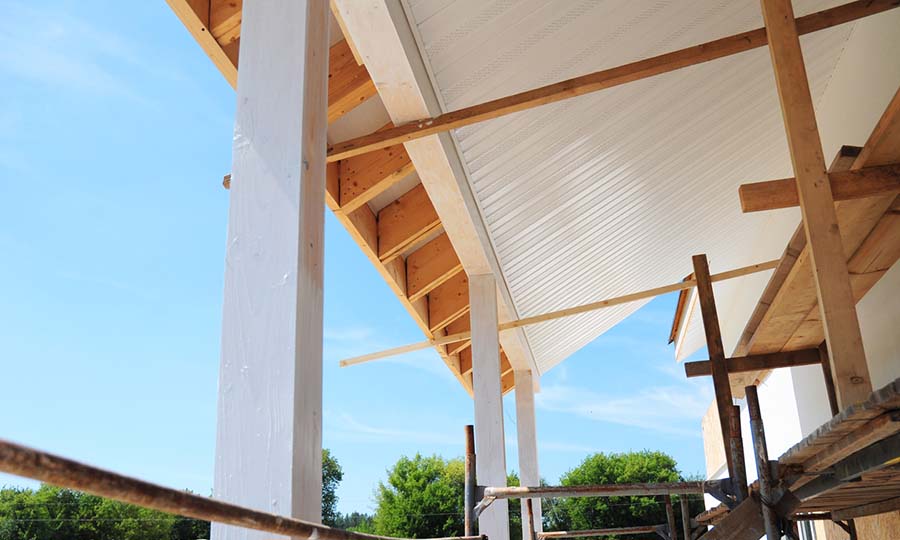
Now that is done, the next thing to do is to have 6×2 rafters the number of the vertical beams installed.
These rafters will be attached to the fascia of the main roof, running down and laying on each of the beams, which will now be extending straight from the ground to the lowest part of the roof, which is the end of the deck.
8. Install Additional Rafters
On top of the 6×2 rafters, install other 6×2 rafters or 4×2 rafters if you wish. The number of the topmost rafters will depend on how big you want the rectangular spaces formed to be.
9. Add the Roofing Material
Now it is your choice which type of roofing material to use on top of the pergola.
Note: You might have to use hurricane hangers on overhead rafters to protect the deck’s roof in times of hurricanes and other strong winds.
Tips for Building a Roof Over a Deck
If you opted for a pergola, here are tips that are worth taking note of:
Dimensions
Consider your roof slope before building one. Different pergolas have different dimensions and inclinations. It will depend on the outlook you want plus protection from the rain and sun. Figure out something that will best work for you and the design of your home.
Finishing
Finishing touches will make your covered deck area look more beautiful. Finishings are the different shapes at the end of the rafters. These shapes do not have any structural effect on the project but add aesthetical value to your deck.
Protective Coating
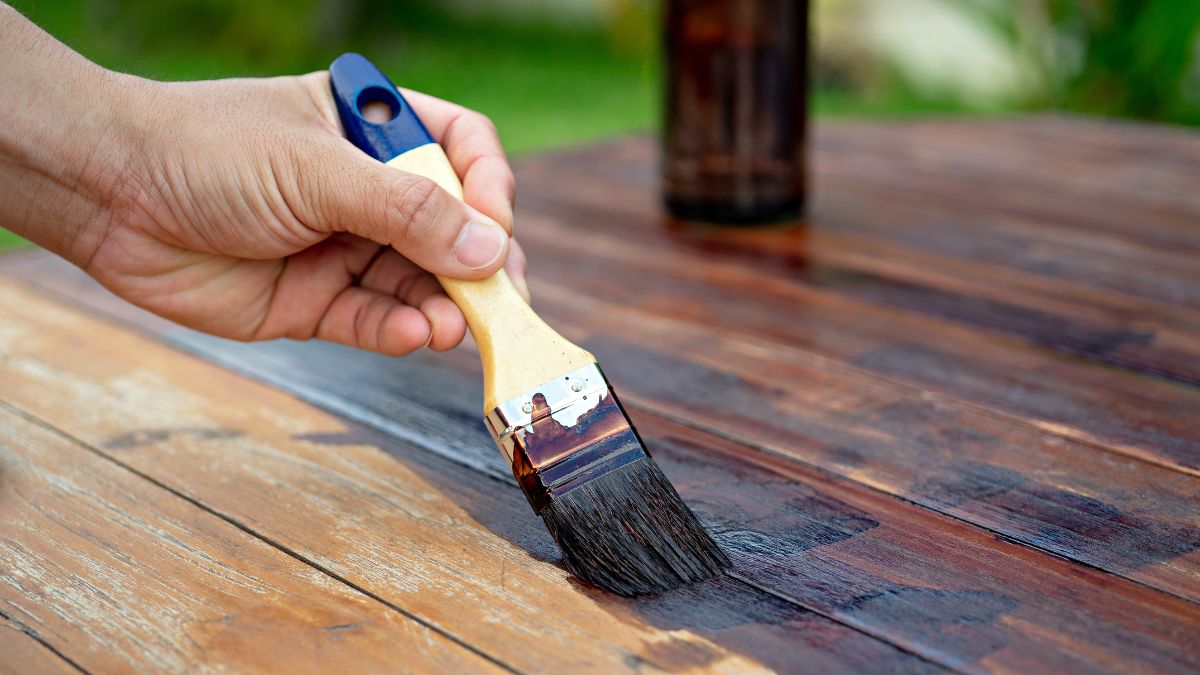
After building the pergola, it will be wise to apply a protective coat over the wooden structure. It is to protect it from drying out and rotting, plus it will add a shine to the surface of the wood, making it livelier and brighter.
Final Thoughts
A comfortable shaded deck does not only allow you the luxury of spending quality time in the privacy of your home but also adds a touch of class into your home.
Investing in a quality roof for your deck makes the thought of coming home or spending time at home a warm feeling. It is good for you and your home when and if you should decide to sell it in the future.
Lastly, consider using the best material for roof decking that can provide superior moisture resistance and is budget-friendly too.


