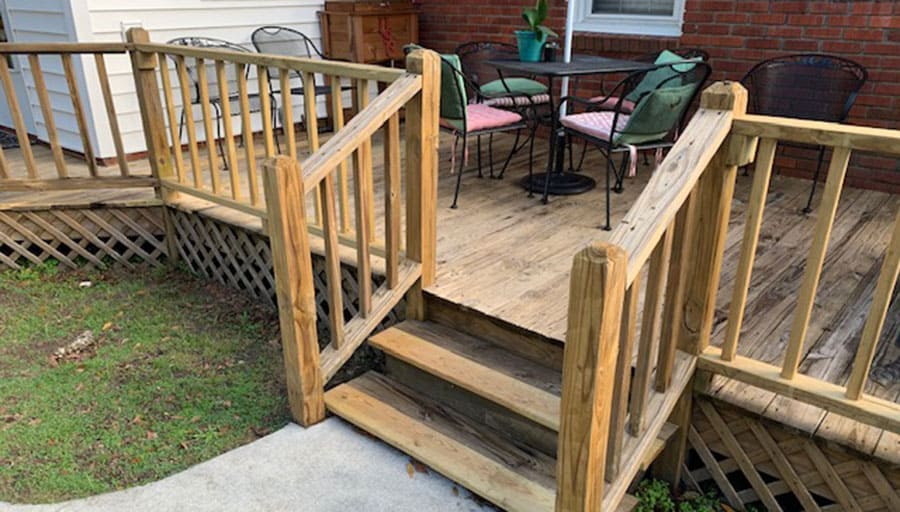
Decks expand your living space, maximize your property, and add value to your home. They give you a place to entertain and a functional outdoor living space. However, building a deck can sometimes be expensive, so you’ll want to ensure you can use it for a long time. To extend the life of your deck for as long as possible, you’ll need to maintain it properly.
A deck needs both routine and long-term maintenance. Regular maintenance includes sweeping and cleaning your deck as needed. You should inspect your deck annually and make repairs as needed. Long-term care includes staining, painting, and sealing your deck every 1 to 3 years.
- Make sure you don’t trap dirt. Place your flower planters on raised surfaces to prevent the planters from trapping dirt or moisture on the deck’s surface.
- If you grill on your deck, use a grease catcher. Otherwise, you’ll have a tough time removing grease stains.
- Sweep your deck regularly to prevent the pile-up of dirt or leaves that will stain the deck surface.
- Shovel snow off your deck as soon as possible.
- Professionally clean new decks to kill mold spores in the wood and remove any surface impurities that could prevent sealing products from penetrating your deck. Wait 60 days before you have it sealed with a waterproof sealer.
- Make repairs as soon as you notice them. If you remove rotted boards in time, you won’t have to replace the whole deck.
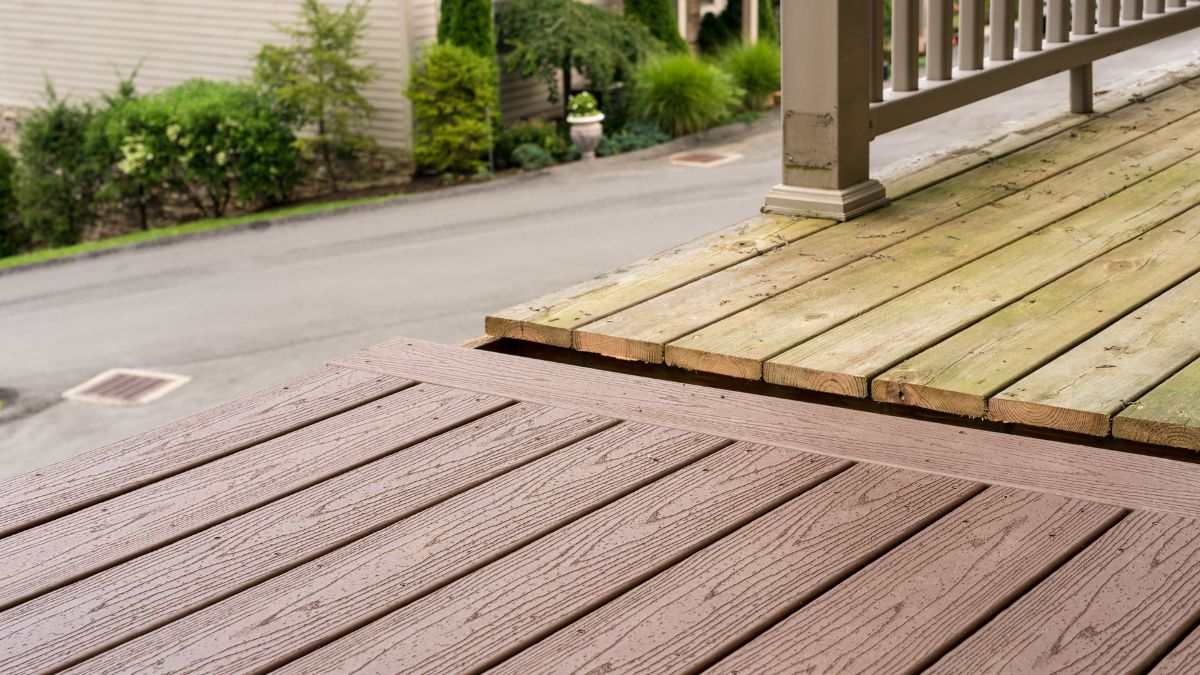
- Keep in mind that decks are not maintenance-free. Don’t think you don’t have to do anything to protect your deck if it’s made of pressure-treated wood. This type of wood is even more porous and vulnerable to the weather, so seal it.
- Never use chlorine bleach when cleaning your wood deck; this will strip your natural wood of color.
- Keep up on annual deep cleaning. Ensure you deep clean your deck yearly to remove dirt, mildew, and mold spores from the surface.
- It would help if you sealed your deck regularly. Sealing will protect your deck from moisture and protect it against the sun, which can shrink and dry the wood. These alternating cycles of expanding and shrinking can cause your wood to warp, cup, crack, and fade.
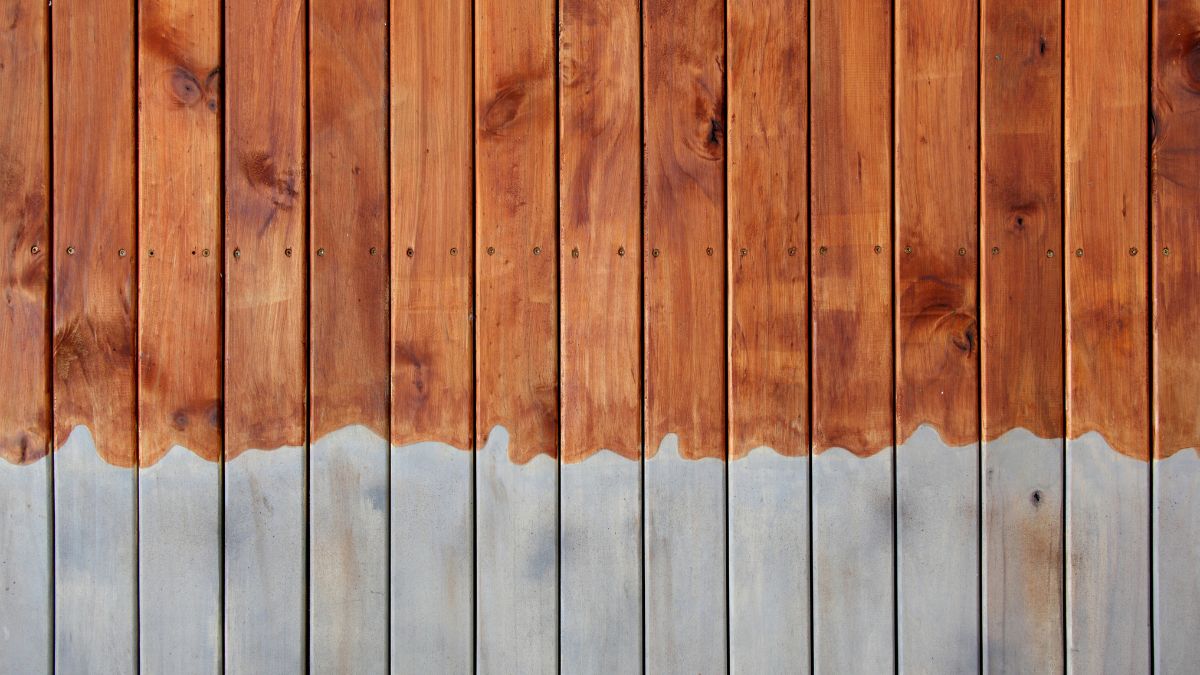
You can choose to stain, seal, or paint your deck. Seals are evident and preserve the natural color of your wood deck. Choose oil-based paint or stain to color your deck. Both are waterproof. You should stain, seal, or paint your deck every 1 to 3 years or when you notice it’s not waterproof and the color has started peeling off.
If you want your deck to last for a very long time, you’ll have to establish a regular habit of deck maintenance. Regardless of the deck surface, giving it some care and attention is vital. The maintenance of decks is minimal but very important.
1. Remove Debris From Your Deck Regularly
The first thing to do to maintain your deck is to remove debris from your deck. Snow or organic debris over a long time can damage the decking boards. You should consider:
- Sweep it regularly with a good-quality, stiff broom. It would be best to keep your deck free of all dirt and organic debris, including dead leaves, straw, moss, and dirt.
- Make sure you also brush under furniture and plants. If you have a wood deck, moving your plant pots often and elevating them on small “feet” would be a good idea to allow air to circulate underneath.
- Remove snow accumulation immediately if you live in an area with routine snowfall. You can shovel the snow or use a blower to remove the accumulation.
2. Wash Your Deck Yearly
You should thoroughly care for your deck once a year; you can use a mild detergent or specialist deck cleaning product and a stiff scrubbing brush. To make your job easier, you should consider getting a pressure washer.
When cleaning your deck, you should remove all surface grease and grime to restore your deck’s look. Make sure you choose the right cleaner for your deck – you don’t, for example, want to use a vinyl deck cleaner on your wooden deck.
You should use a standard deck cleaner and follow its directions if you have a wooden deck. Some of these cleaners will require the decking to be wet first, but some won’t make sure you read the instructions.
Use a cleaner specifically formulated for the composite material if you have a composite deck. To remove all grease and oil stains, use commercial degreasers and detergents. If you have a vinyl deck, you’ll need water and mild soap to remove mold, mildew, and dirt.
Use a pump sprayer to apply your desired cleaning solution mixture of mild soap and water to your deck. Avoid using bleach or other harsh chemicals where the runoff can kill your plants or grass. Allow the solution to sit for several minutes before washing.
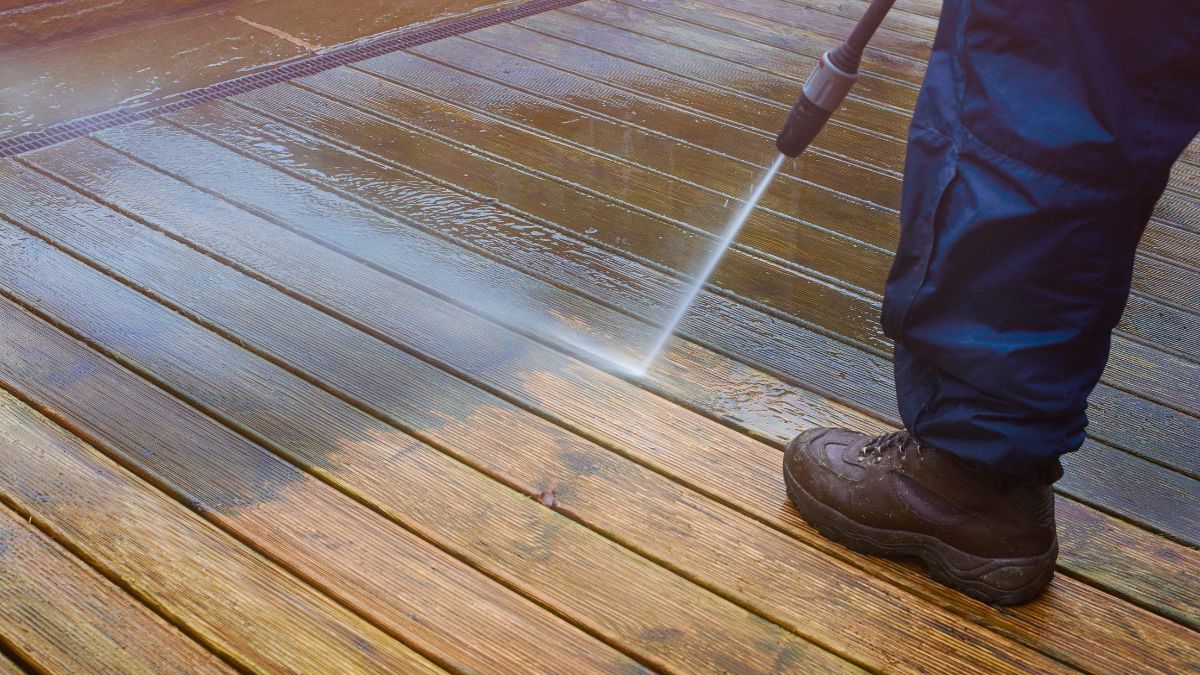
Use a large brush to scrub badly stained areas. Use a water hose with a sprayer or a pressure washer on a low setting to wash your deck. A pressure washer will likely clean the surface on the first attempt, whereas a water hose with a sprayer may take multiple attempts.
You can use a power washer if you have it; this will quickly spray away the dirt and grime on your wood deck. Using the power washer on a low setting and with a fan spray nozzle.
If you have a composite deck, don’t use a pressure washer – you will almost always damage it.
You can use vinegar and baking soda if you want a more natural approach to cleaning your wood deck (or want to make a cleaner out of what you have at home). Mix equal parts of warm water with white vinegar and baking soda. White vinegar will kill bacteria and funguses developed, while baking soda will remove all odors and refresh your deck.
Once you apply this mixture, scrub it with a long-handled brush and let it sit for a few minutes before rinsing.
When cleaning wood railings, apply cleaner and scrub from the bottom up. If you start from the top, you’ll splatter the cleaning solution onto dry wood and likely leave lasting marks.
Leave the deck to dry for two days before moving on to staining, sealing, or painting.
Related Reading: How to Refinish a Deck: Essential Steps and Tips
3. Inspect Your Deck For Needed Repairs
If you want a good wood deck to last a long time, inspect it for rot regularly and check whether it’s structurally sound. Summer is a great time to review your deck’s condition because the air is usually dry and warm.
It would be best to inspect the wood ledger board that meets the side of your house. You should also look under your deck and examine the ledger – the piece of framing that attaches the deck to the house. Damaged ledgers are responsible for 90% of all deck collapses.
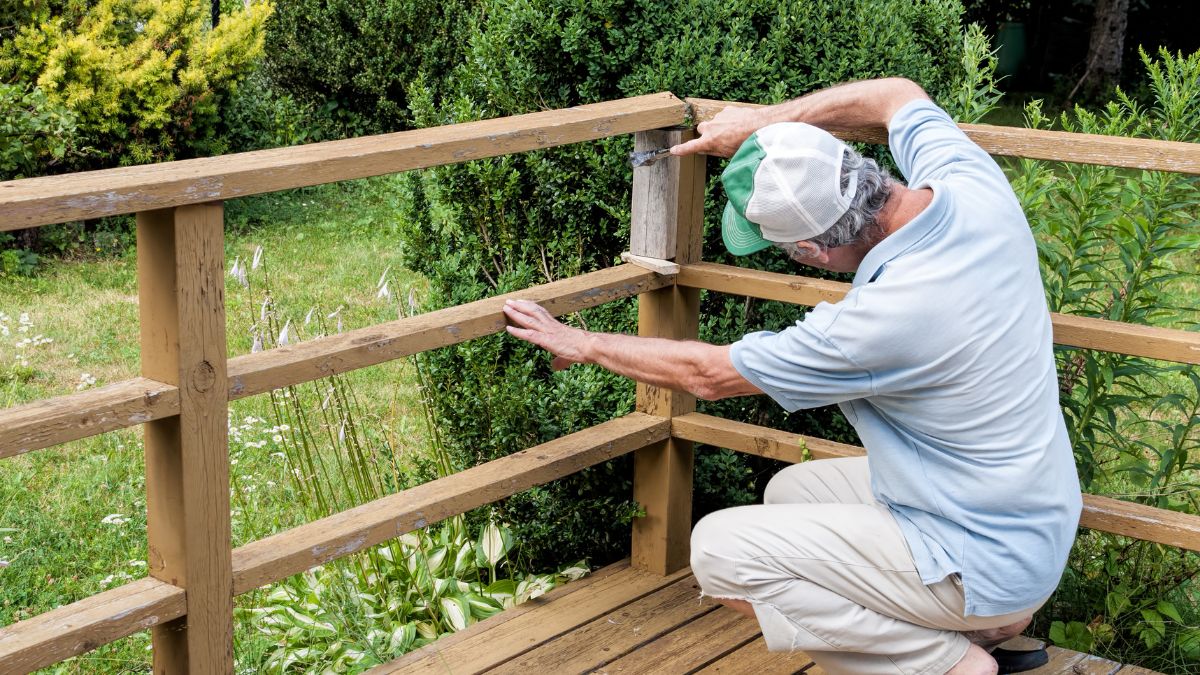
Inspect where the stairs contact the ground. Make sure you also inspect for loose railings. Wiggle or put weight against the railings to ensure tight connections.
If you find any raised or exposed nails during the inspection, pry them up and replace them with wood screws. Make sure you fill any holes in the boards with exterior wood filler. If you notice that the hardware is looking rusty, replace it.
Look for cracked, weak, or curling decking boards. Replace decking boards as needed. Sometimes, you’ll have to replace a broken or damaged board in your deck. To do so:
- Use a claw hammer to remove the old board.
- Buy a replacement board cut to fit, or cut it yourself.
- Remember that you should pick the same type of wood and stain or coat to match the other boards so it doesn’t stand out.
- Install your replacement board by drilling pilot holes and using wood screws to secure the new replacement board to the frame.
If there are a few boards on your deck that could be replaced, consider doing all your deck boards at once to get a fresh, uniform look. New deck boards should also give you more stability than your old ones. You must wait 60-90 days to seal the new decking boards.
4. Staining Your Deck
Staining will protect your deck from fading, natural wear, and water damage. Ensure you clean your deck and leave it to dry for two days before staining it.
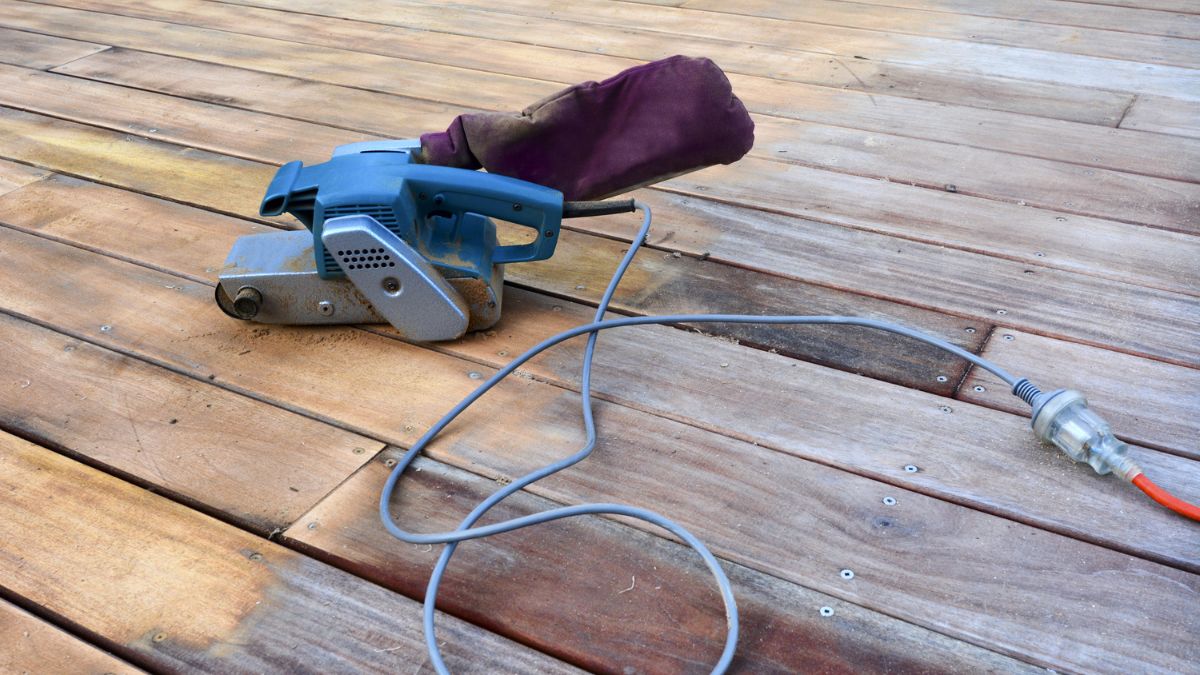
If you plan to stain your deck, you must first sand the surface. Sanding is done so that the wood better absorbs the coating. When you sand your deck before staining it, you will create a smoother, more comfortable surface that’s less likely to give out splinters.
Use an orbital sander to remove old gloss and smooth out rough areas to sand your deck. You’ll probably have to use a sanding sponge on the railings or balustrades. Ensure you use 60 or 80-grit sandpaper on the main deck boards, then 80 or 100-grit on the handrails. When you’re done with sanding, vacuum the deck thoroughly. If you don’t, the dust will settle on the new finish.
Steps to staining your deck:
- Use painter’s tape to protect areas like the house’s siding.
- Stir the stain and pour it into a paint tray.
- Apply the stain to a test wood patch to see if you like it.
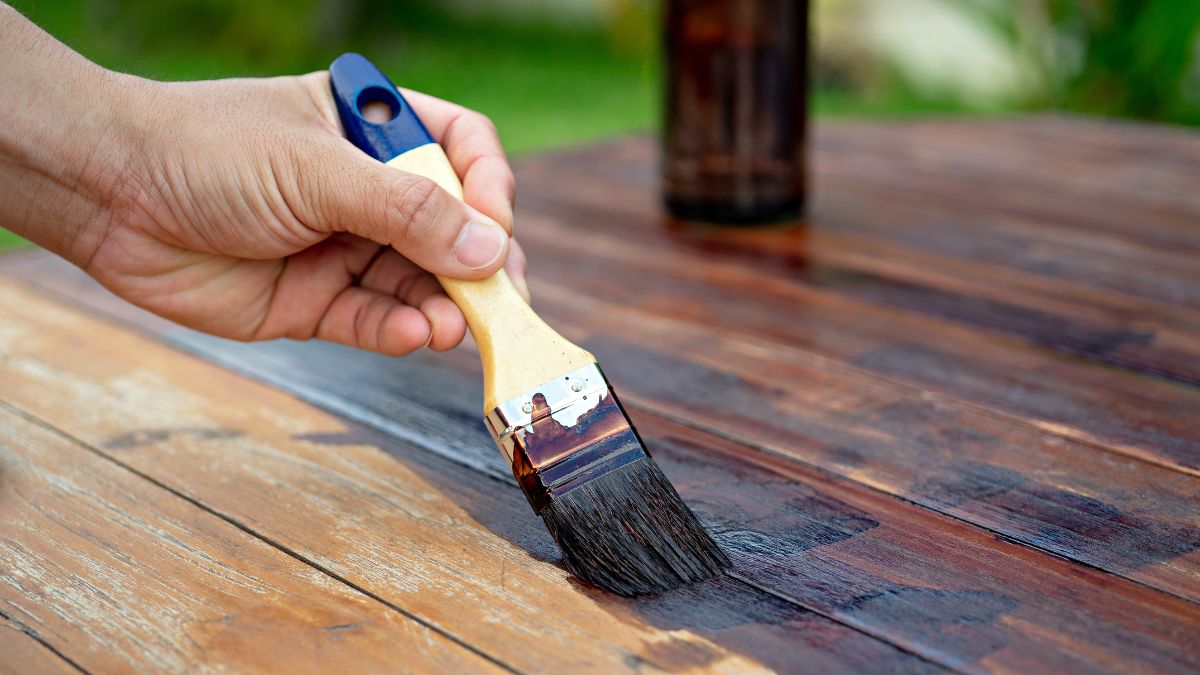
- Start by staining the deck’s highest wood features, railings, posts, and balusters, then make your way down. It would be best to make long, even strokes with a paintbrush.
- Use a paint pad applicator to stain the deck boards. It’s much easier to do it this way than brushing a large deck by hand, and it is more accurate than using a pressurized sprayer. Using long, even strokes, apply one coat of stain.
- You can use a paintbrush to stain between the cracks and in problem areas. Ensure you can exit the deck, like deck stairs or your home’s back door.
- Apply the deck stain while moving in that direction – don’t quite literally paint yourself into a corner. One coat will usually be enough. However, you can apply another if you’re unsatisfied after one coat.
- When you’re done, clean the brushes and paint tray so they don’t end up damaged.
- It would be best to leave the stain to dry for at least 24 hours.
5. Painting Your Deck
If you want to paint your wood deck, you must clean it and leave it to dry for 48 hours. Once the deck is clean and dry, you can start applying the deck paint.
Using oil-based paint or a color-tinted stain on your deck is best. Avoid water-based latex paints.
Start by painting the railings. When you’re done with this, paint the deck boards. You might want to use a paintbrush to trim the deck and then paint the rest with a paint roller. You’ll probably need two coats to cover your deck fully. Please leave it to dry for at least 24 hours between coats.
6. Sealing Your Deck
Preparing your deck for sealing by cleaning it and removing all furniture and plants would be best.
First, apply the sealer to the deck railings. Make sure you follow the product directions because application methods vary slightly by product. You can use a paint pad for the railing and balusters’ broad faces, then a paintbrush for corners and tight spots. Make sure you apply an even coating of sealer to all surfaces.
Move on to the deck boards – use the paint pad for large surfaces and the paintbrush for corners and tight spots. Apply the sealer to 10 to 15 square feet of boards at a time, then wipe up any excess with a rag. Working from the far corner of the deck to the exit point would be best.
Depending on the conditions and the product, leave the sealer to dry for 24 to 48 hours before using the deck.
How Often Should a Deck Be Stained?
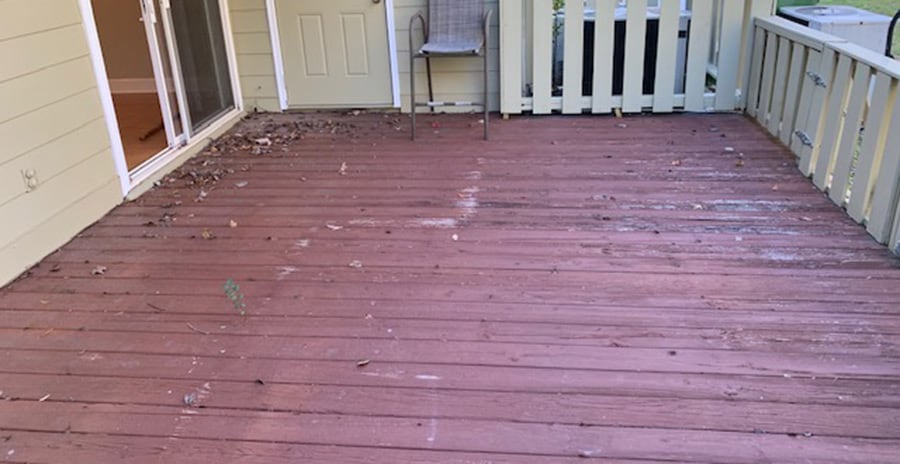
You can stain your deck every 1 to 3 years during the summer. If you suspect that your deck might need a stain sooner, do a test. Sprinkle some water on the wood and wait 10 minutes. If the wood absorbs the water in those 10 minutes, you should stain your deck immediately. If the water pools on the surface, the need for a new stain is less urgent.
How Often Should a Deck Be Painted?
You can repaint your deck every 2 to 3 years or when it shows signs of peeling, bubbling, or flaking. It’s best to paint your deck during the spring when the temperature is between 50-85 Fahrenheit.
Oil-based paints tend to last longer but require more prep work between paintings. Once you paint a deck, it’s almost impossible to return to a stained deck and obtain an actual color without traces of the previous painting.
How Often Should a Deck Be Sealed?
It would be best if you sealed your deck every 1 to 3 years during the spring. Because the sealant is supposed to prevent the wood from soaking up any water, you should reseal it when you notice that water is no longer beading on the deck.
Ensure the temperature is above 50 degrees Fahrenheit during application and drying time. You should check the forecast and pick a day after application that won’t rain for 24 hours.
You won’t need to apply a water sealant over stain or paint, provided you purchase a high-quality stain or paint with a built-in sealant. This allows you to paint, stain, and seal in one application.


